| After getting tired of looking
at the old dull headliner and dirty sunvisors for the past
10 years, I decided to try out the Vinyl & Fabric paint/dye.
You can purchase this at your favorite auto parts store for
around $4/can. It took less than two cans to do the headliner
and both sunvisors. Here's a picture of the product I used.
It comes in various colors.

I don't have any pics of the headliner removal process, but
it's fairly straightforward. Just a lot of little things.
1) Slide off the cover to the rear view mirror. Remove the
2 screws underneath to remove the mirror.


2) Remove the 2 screws holding each sunvisor in place. Remove
the clips that each sunvisor clips into as well.
3) Remove the A-pillar trim pieces on each side. This are
held in place by 3 or 4 hidden clips under the trim piece.
4) Remove the "oh-no!" handle on the passenger
side and the trim piece under it. Remove that same trim piece
from the driver's side.
5) Remove the cover from the interior light, using a screwdriver
to pry one edge out. Remove the 4 screws holding the light
in place.
6) Remove the trim piece in the upper rear that was behind
the light.
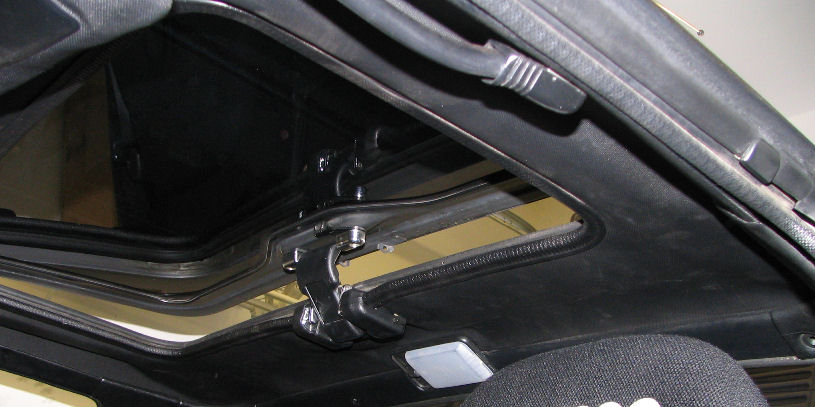
7) The directions here will differ depending if you have
sunroof, t-top or hardtop. If hardtop I would assume the headliner
should now come off. I'm not sure what needs done on the t-tops.
On sunroof models, remove the sunroof, then dismantle the
latch from the roof. This allows you to remove the weatherstripping
from around the sunroof opening. You can then remove the headliner.


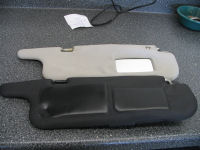
8) Thoroughly wash each piece that you will be dying and
let dry. Then pain the pieces as directed on the spray can.
Here are some comparison pictures of undyed vs. dyed.


9) Installation is opposite of removal. Here's some pics
after installation. It looks better in person than in the
pics.


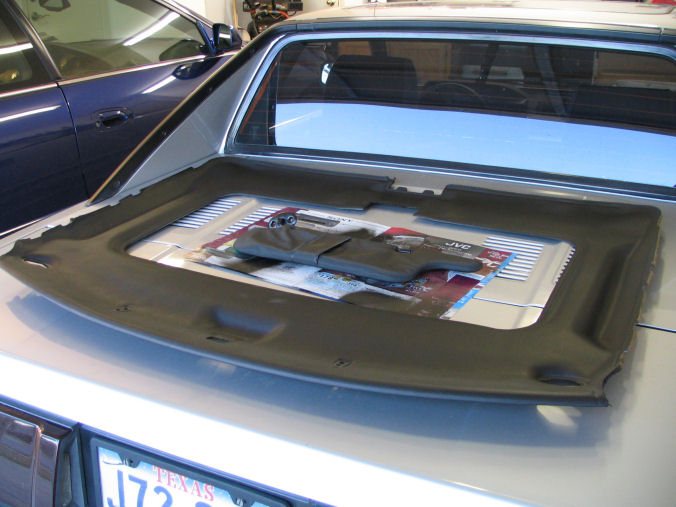
Just some reference pics of the headliner removed.


|