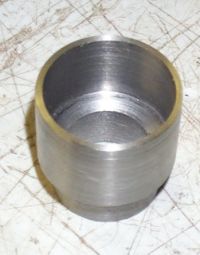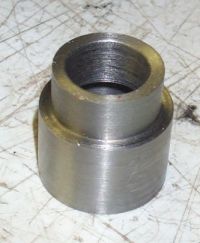
20V 'Blacktop Project' - Day 17Today I went over to a friend's place to fabricate an adapter for the C56 transmission to work in the rear engine MR2. If you've been following the progress, you'll remember from this page, that with the newer C56's it isn't as easy as the older ones to convert to work with the shift linkage of an MR2. So, on to the pics of this stainless steel adapter we made: Here's the piece that the oil seal will press into. At first we had planned on a single piece. However, after thinking we started with a 1/2" bit and then using the boring tool to shave it larger, we removed the part from the lathe and found that it was just too large for the selector shaft. It would have been fine, but the part of the tranny that we need to press into has fairly thin walls already. It just wouldn't work. BTW, we had used a 9/16" bit, so were "only" off by 0.060". So, decided the easiest way (without sacrificing the hour or so it took to machine the piece and starting over), was to use 2 pieces. The original piece was bored larger and trimmed. Oil Seal Side & Selector shaft side:
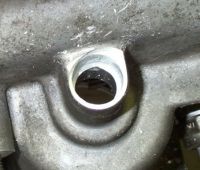
The tranny was awkwardly placed under a drill press, and held as level as we could. We then bored the hole out to 11/16" to about halfway down. Also, leveled the "face" of the hole.
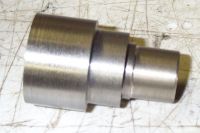
The second piece was then built to the specs of the tranny hole, selector shaft, and the first piece. Here's the 2 stainless pieces next to the new oil seal: Then pressed the 2 machined parts together in a vice:
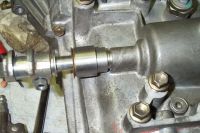
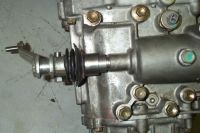
That unit was then pressed into the transmission selector shaft hole with a bolt/washer/nut contraption in order to press it in uniformly. There was still an issue with the part not pressing in precisely straight. The parts were machined so close to the width of the selector shaft, that being just barely off with pressing of the parts, the shaft would not fit through. So after a some moments with a die grinder sanding the inside of the piece, it slid in fine. So once the shaft was tested over and over for smooth action in changing the gears, the oil seal was tapped in place with a dead blow hammer. Here's a pic with the shaft, seal, and lever in place: And finally, with the dust boot on: So the tranny is ready to go now. Just need to reattached the various brackets, engine mounts, clutch lines & clutch slave cylinder. Also need to flush out the tranny good to make sure there's not too many metal bits inside. |
|
| Home • Links •
Email Disclaimer: This web page in no way replaces
the MR2 repair manual. Follow what it says before me. The purpose of
this page is to give you a better pictorial description of what to do.
I cannot be held responsible for any mishaps caused by this web page.
|
