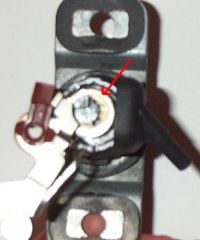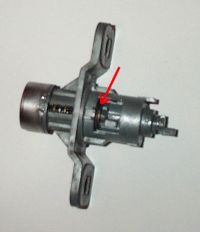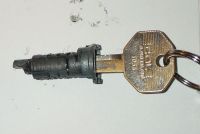
87+ Tail Light Conversion - Rekeying the LockOne of the big issues with moving to the 87+ tail lights is changing out the lock cylinder, as it is different as well. To enable you to use the same key as before, you will have to rekey the lock. It's quite simpler than you think. Just make sure you have a clean workspace and ample light, as you will be working with very small parts. Here's a pic of the lock assembly:
1) Turn the assembly on end and remove the cam's E-clip. (sorry for the blurry pic)
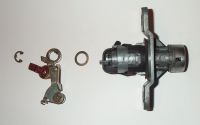
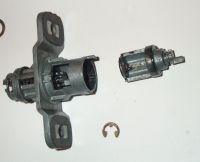
Here's the cam removed: 2) Now, simply remove the protective rubber boot.
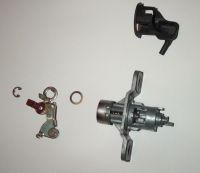
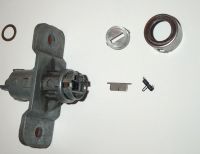
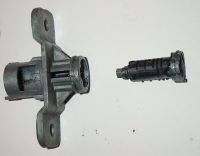
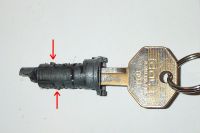
3) Here comes the part where you have to watch out with tiny pieces falling out. Remove the cap, by simply prying up on the bottom edges. 4) Remove the cover by gently prying on the 2 tabs. The flap & flap spring may fall out. If not, remove them. 5) Now, you need to disconnect the cam extension from the cylinder. Do that by removing the E-clip holding them together. 6) Slide out the extension And slide out the cylinder. 7) If you have the old cylinder from the 85/86 you can just simply reuse it. You can skip the rest of these steps and just reassemble the opposite of removal. Since you can't/don't want to reuse the old one, you just need to rekey the cylinder. Insert the key you will be using into the cylinder. You will notice that a few (all?) of the wafers do not line up with the edge of the cylinder (shear line). 8) Make note of which do not line up. Remove the key, and gently remove those wafers. They will simply lift out by your fingers. You may need to insert a small screwdriver from the bottom to help push them out. Be careful of the springs and ball bearings that are hidden underneath the wafers. They should stay in place with the wafers removed. 9) Exchange positions of the wafers that do not line up. And by trial and error with inserting the key, you should be able to come up with a pattern that allows the wafers to line up perfectly with the cylinder. In my case, I ended up having one wafer that would never line up. So I simply just removed it from the cylinder all together. Before putting everything back together. Clean up the old dried up grease, and apply fresh grease to the parts. 10) Asssembly is opposite of the removal. Be careful of lining up the flap spring, flap, and cover.
|
Home • Links •
Email
(remove NOSPAM from resulting email address)
Thanks for Visiting! - Eric Southers
Disclaimer: This web page in no way replaces
the MR2 repair manual. Follow what it says before me. The purpose of
this page is to give you a better pictorial description of what to do.
I cannot be held responsible for any mishaps caused by this web page.

