| Here's a write-up that I've been
meaning to get to for a while now.
Every car has different seat mounting locations. Therefore
aftermarket seat manufacturers must sell brackets specific
to the car. Sometimes this is included in the price, other
times not. And almost always these brackets do not contain
the sliders for adjusting the seats. These sliders are an
even additional cost. The good news about this is that the
stock MR2 seat brackets/sliders can be reused. It just takes
a bit of work, and $5 worth of metal from Home Depot.
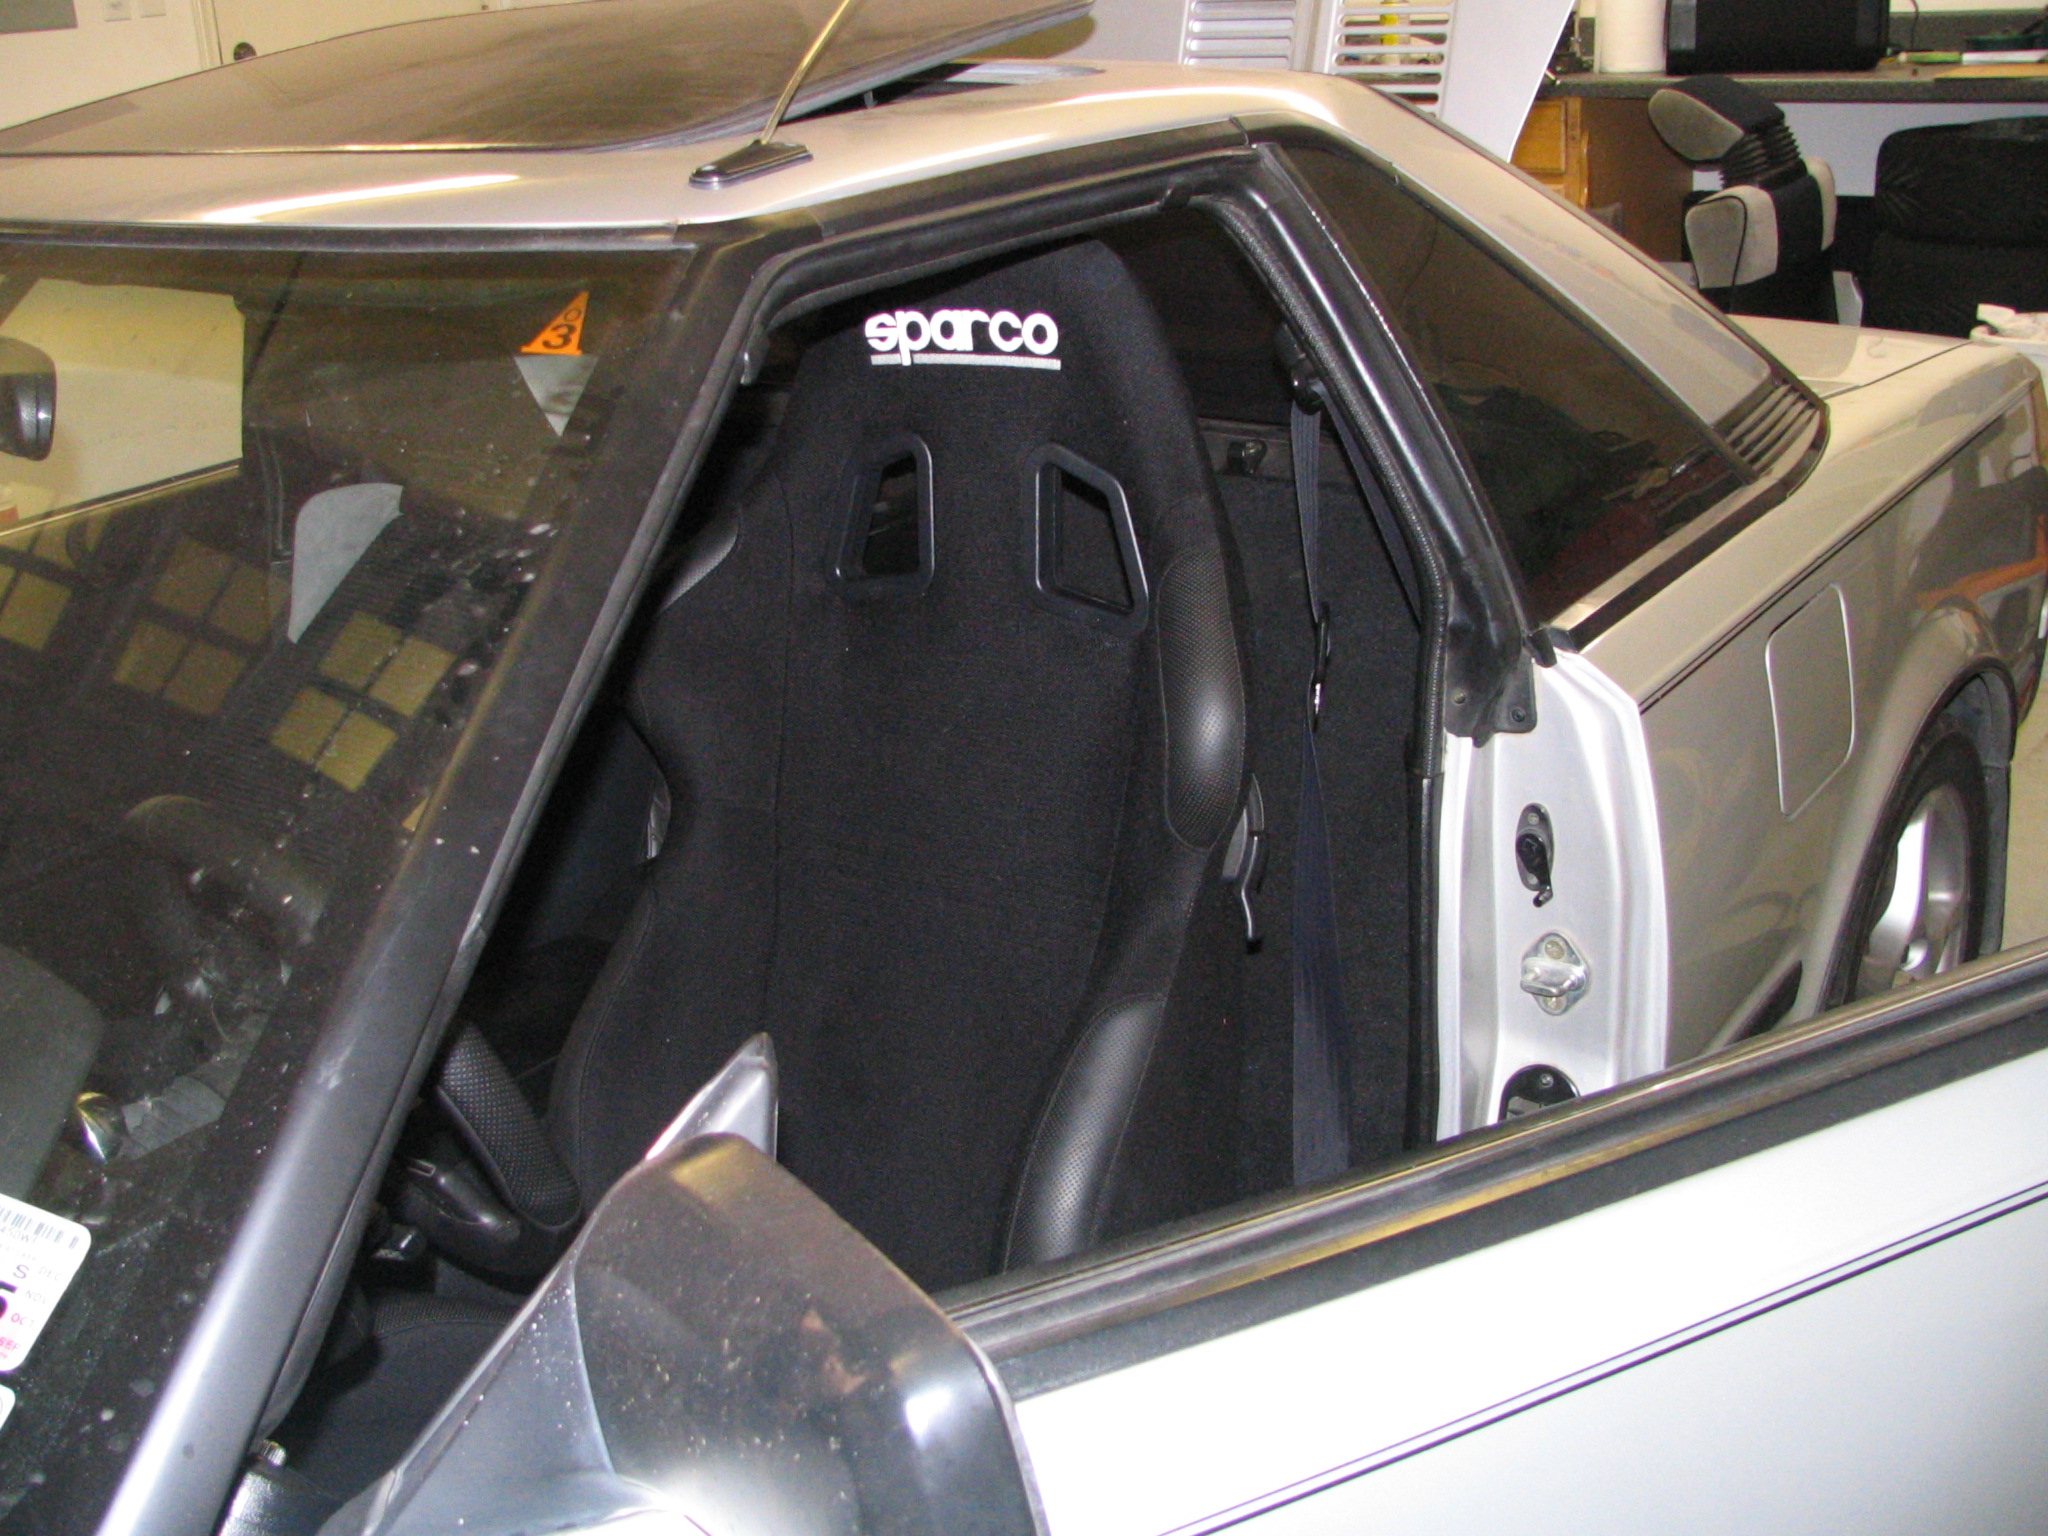
This writeup shows you how to do this using a set of Sparco
Torino II's. Just a bit of info about these seats if you are
interested. These are a great comprimise between full on race
seats and comfortable seats. They recline & include nice
padding to make long trips or daily driving comfortable, while
adding lots of support and side bolsters for more spirited
driving. They are a bit on the heavy side though, especially
once the mr2 sliders/brackets are added.
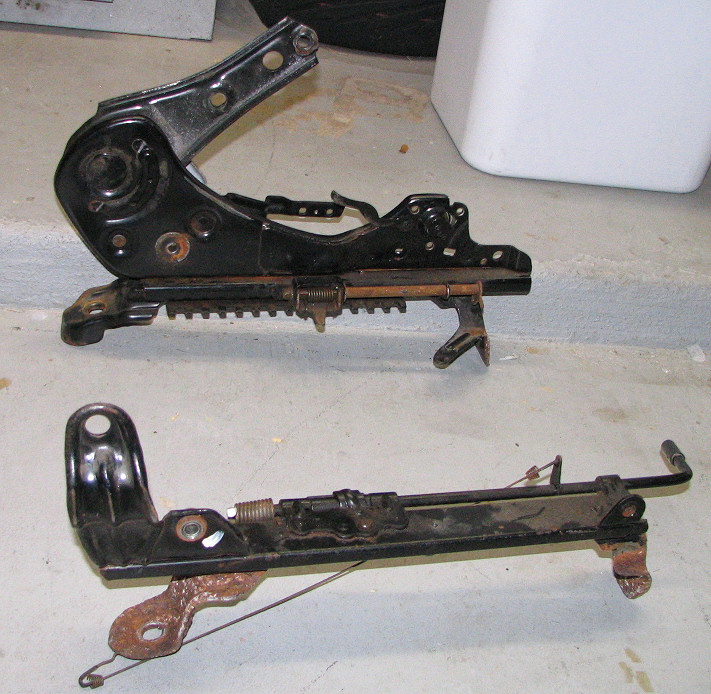
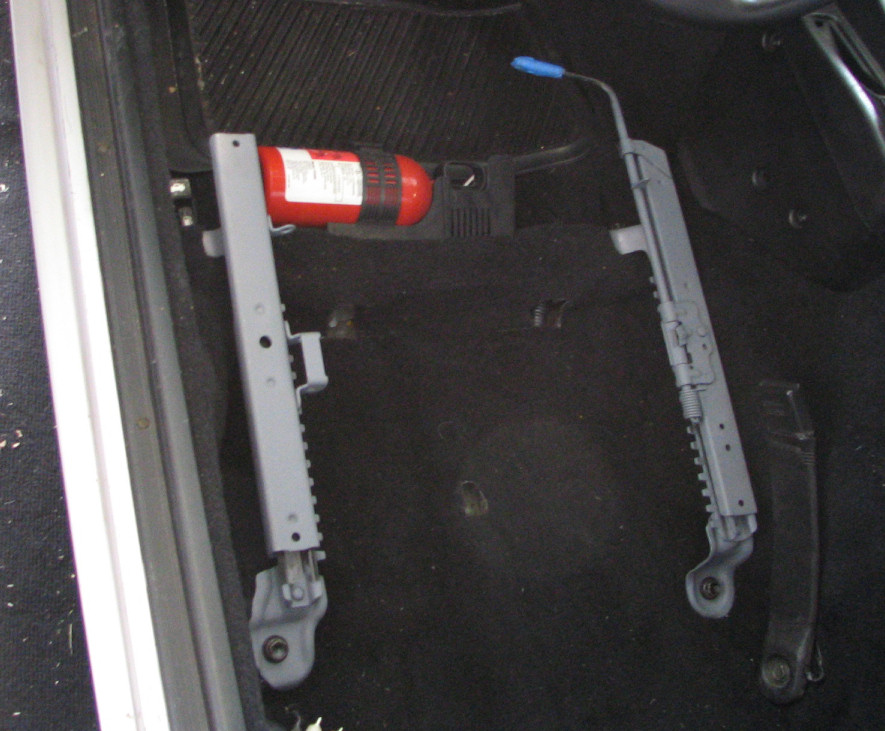
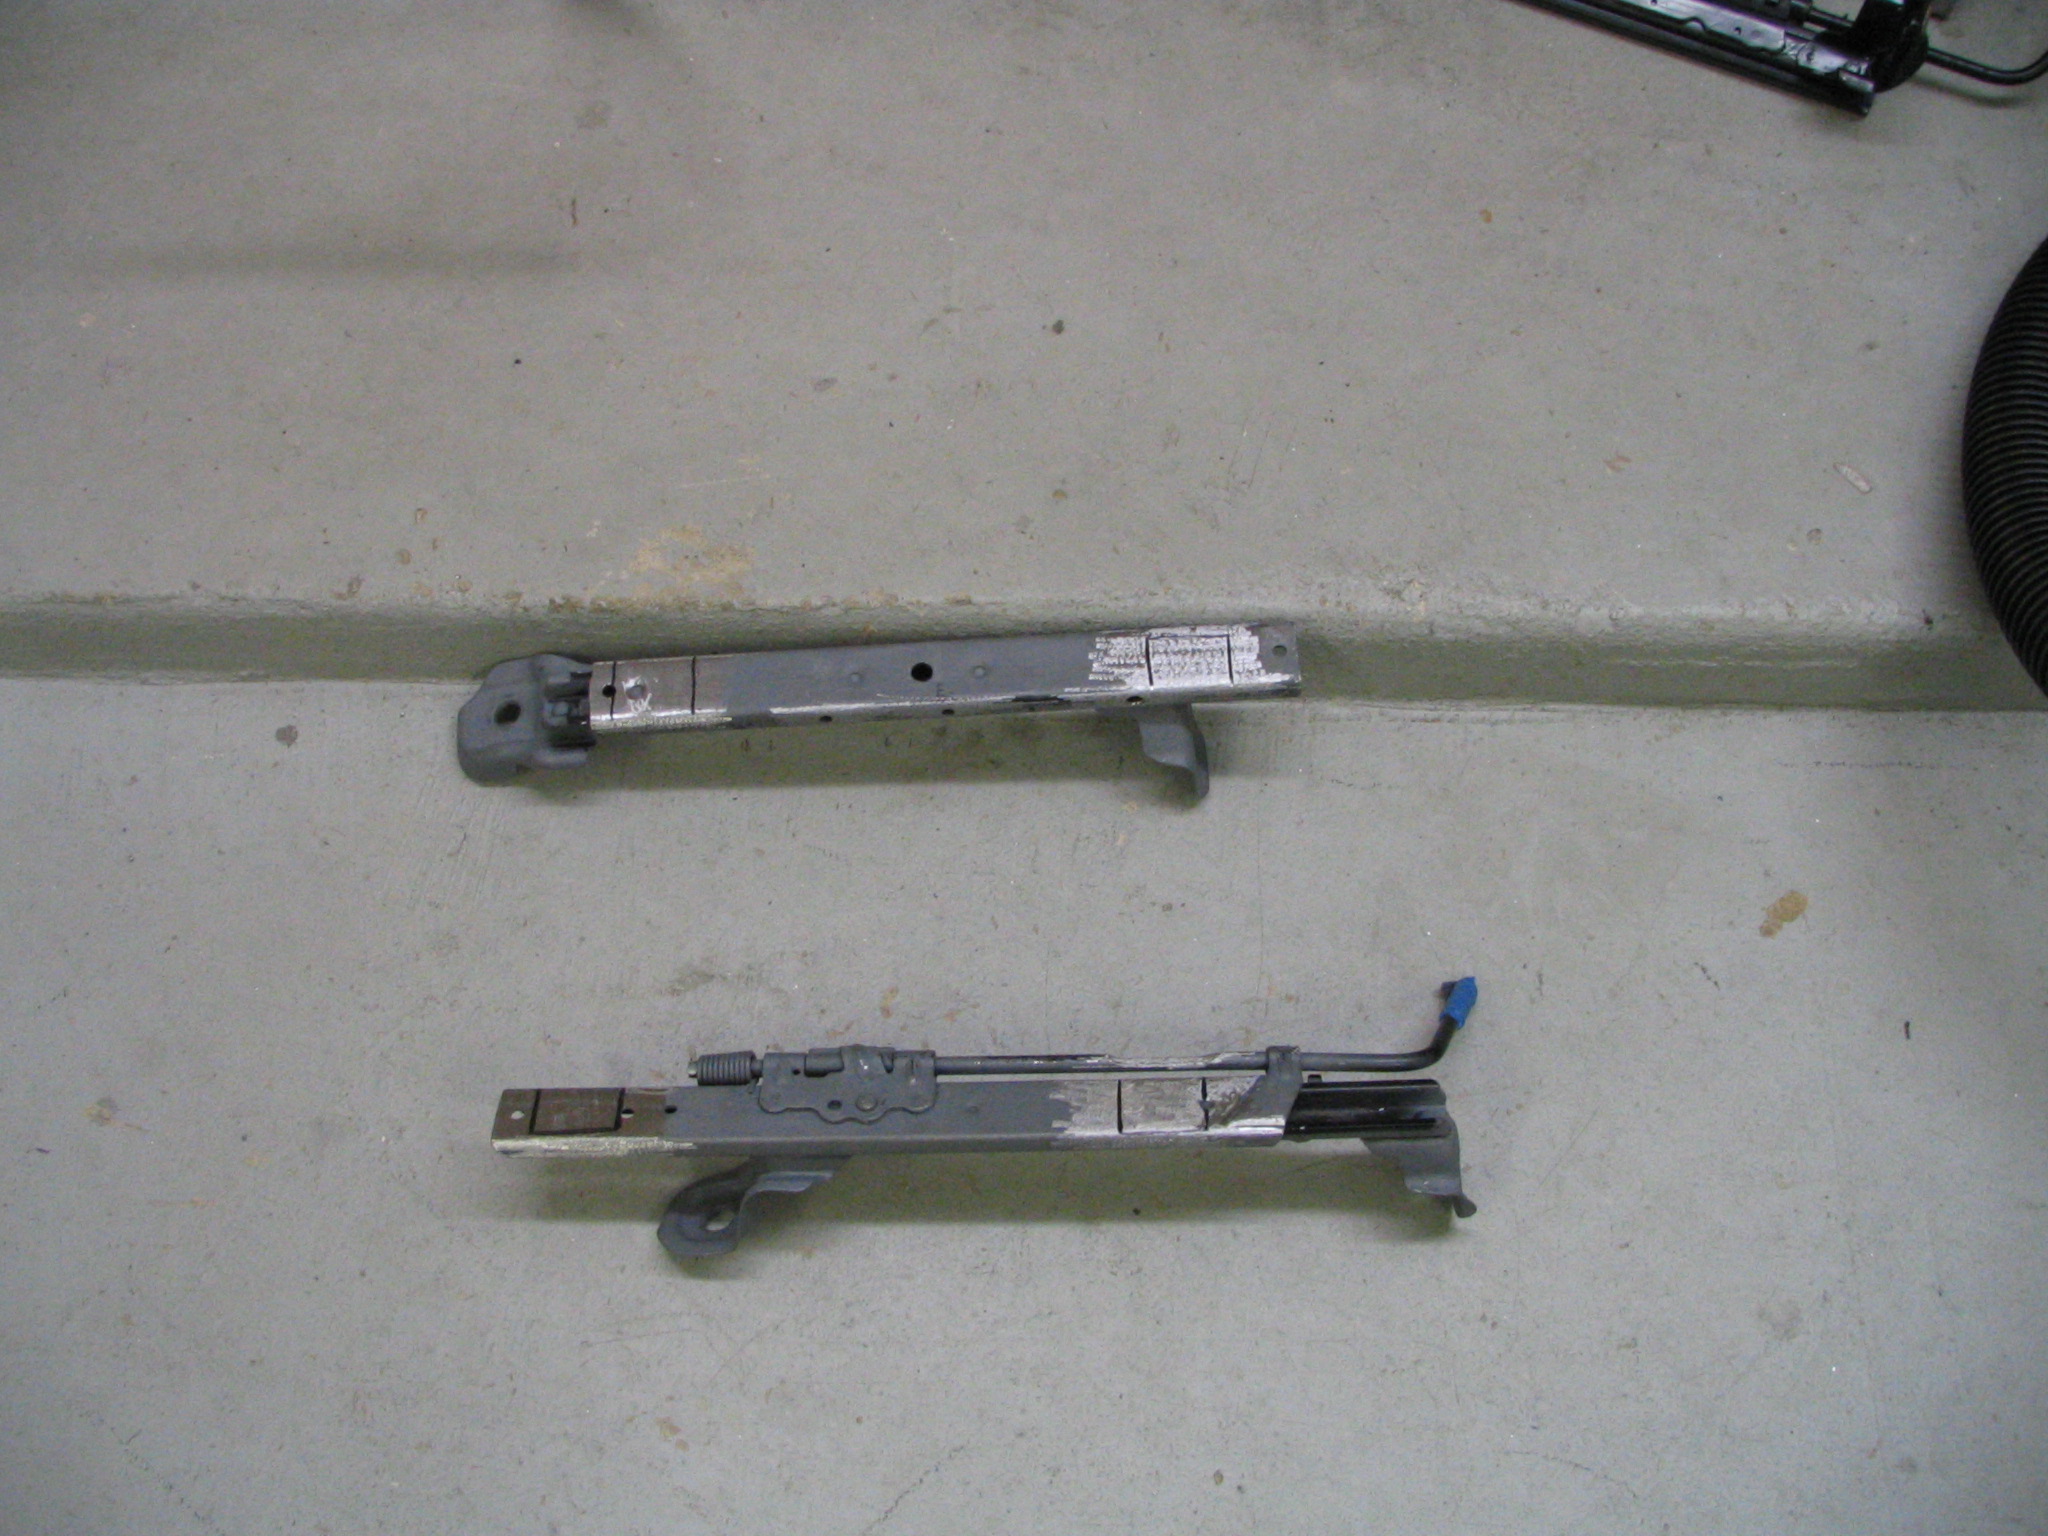
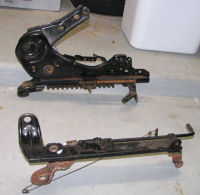
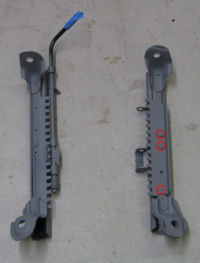
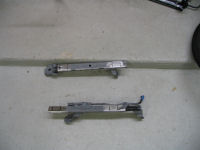
1) First of all detach the sliders from the stock seats.
I purchased a spare set, so as not to destroy my stock seats.
Sorry no pics of this step, but it's straightforward. Here's
what you should end up with.
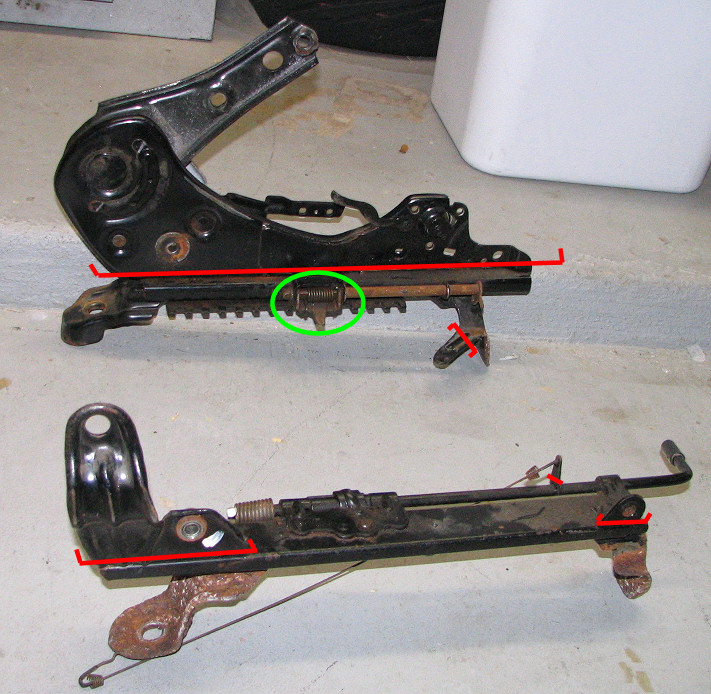
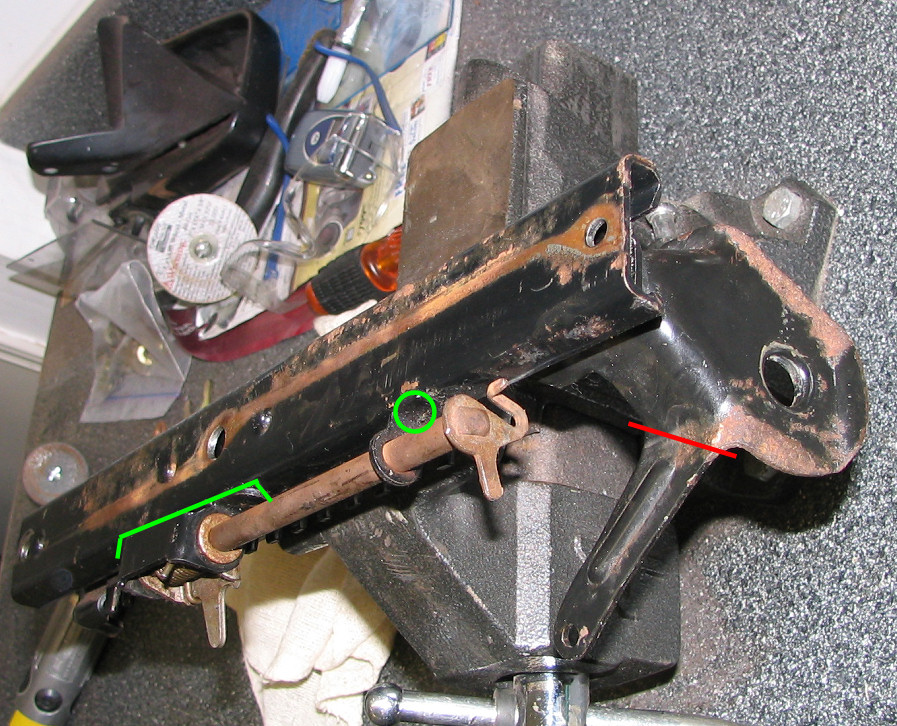
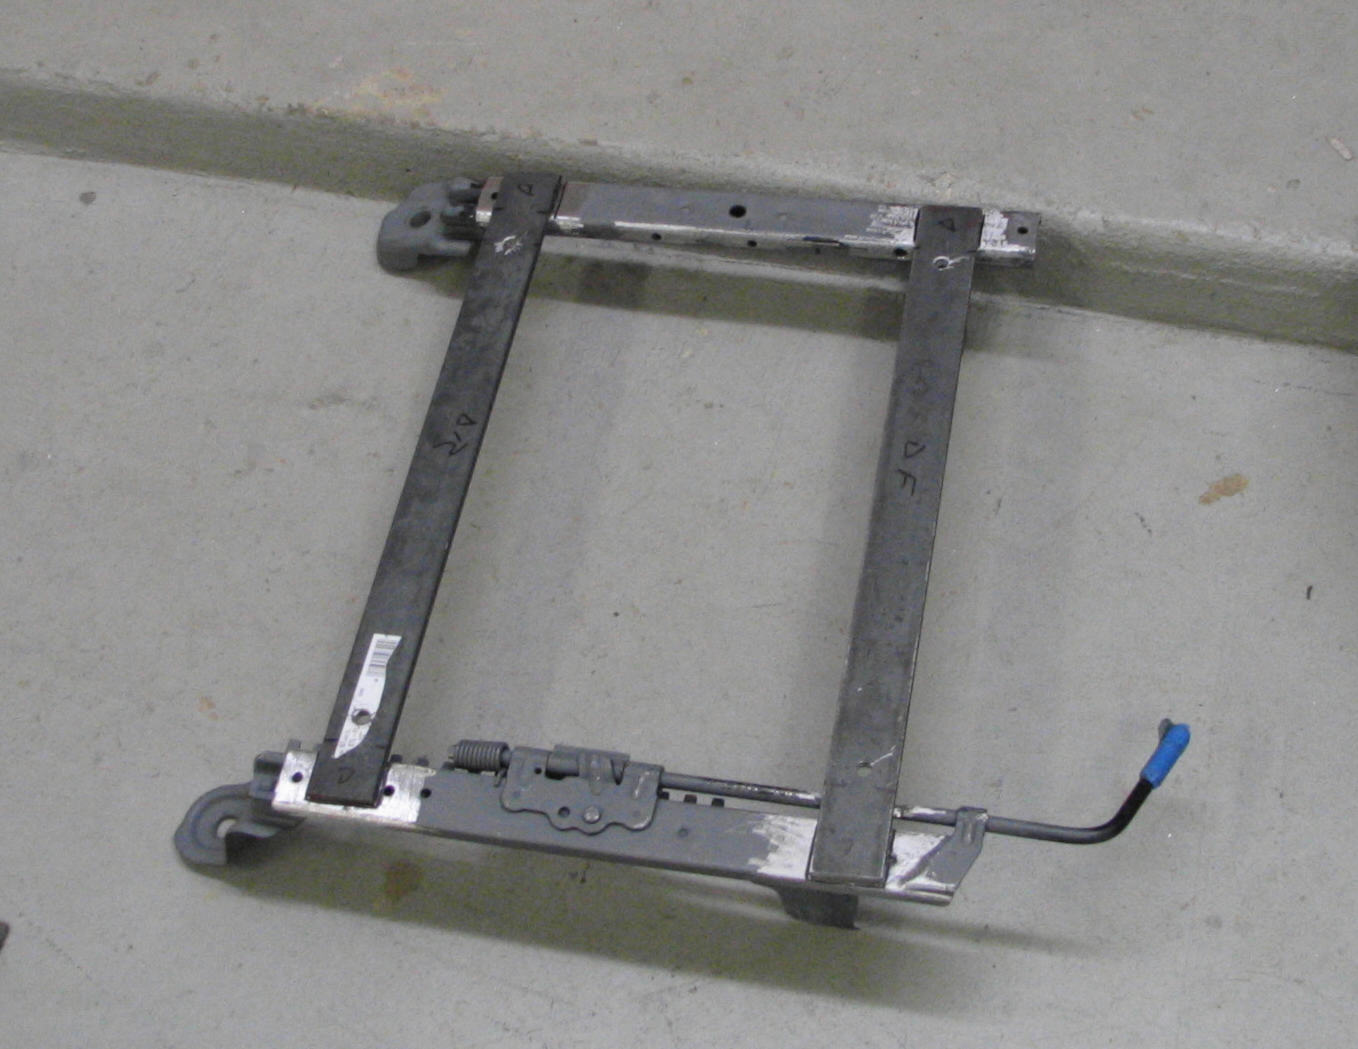
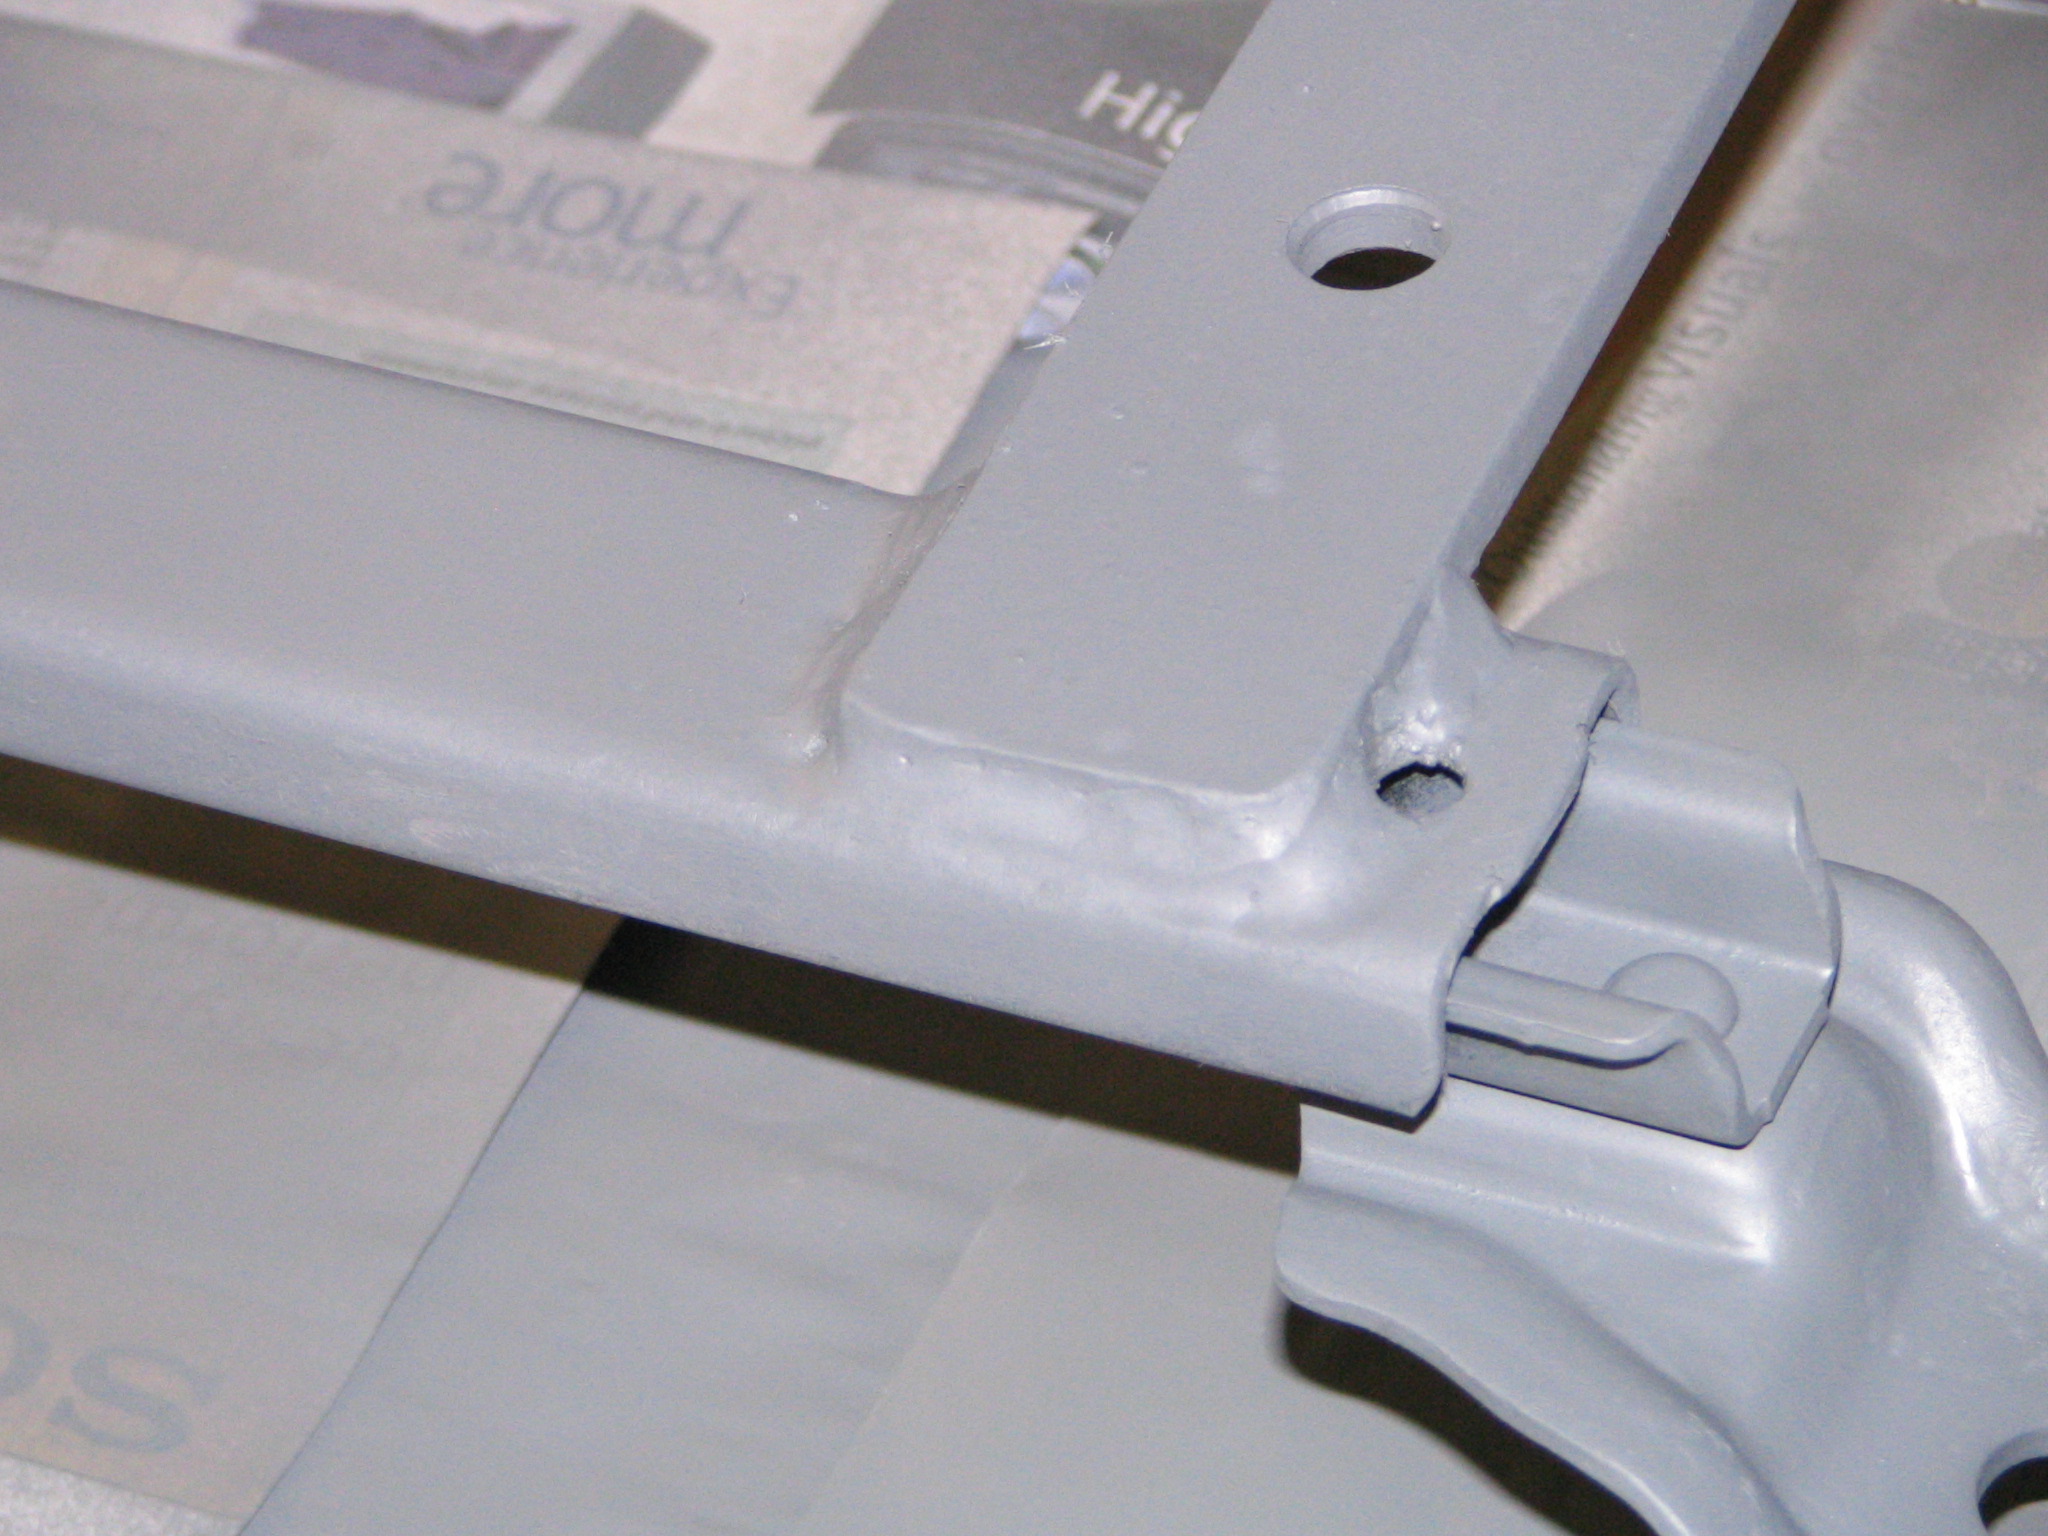
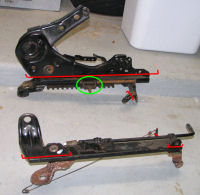
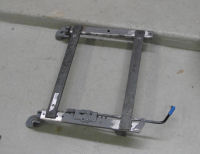
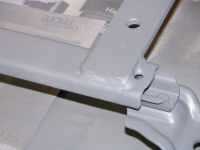
2) Now, use your favorite cut-off tool (Dremel) to remove
all the unnecessary bits. The below picture shows what is
safe to remove by the red lines. Do NOT remove what is circled
in green. This is the mechanism for the slider adjuster.
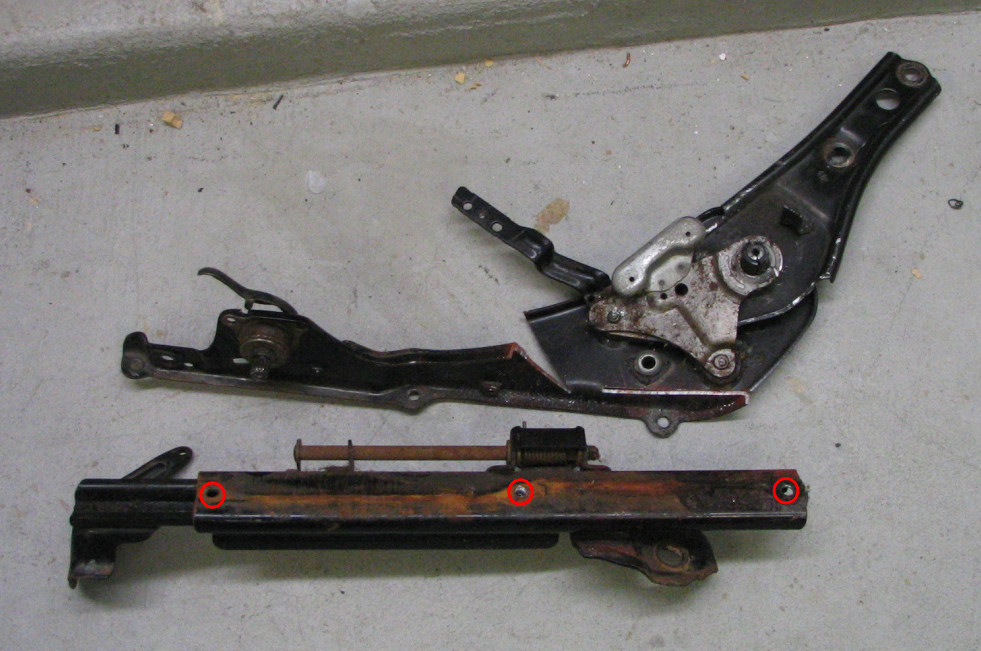
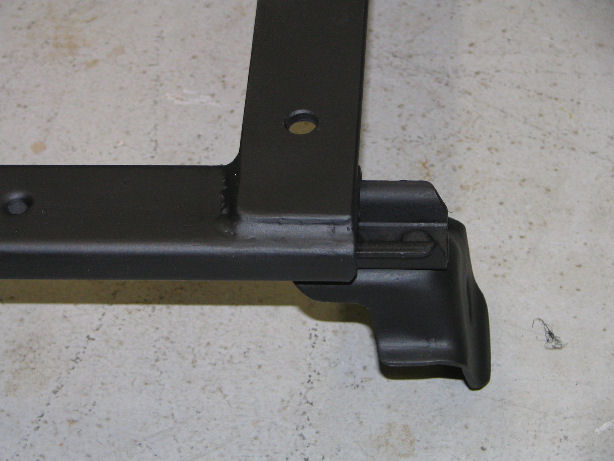
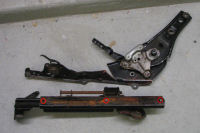
3) Here's pics of the progress. A good set of drill bits
is nice to have to drill out these rivets. Again, do not remove
anything marked in green.

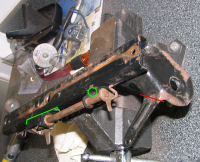
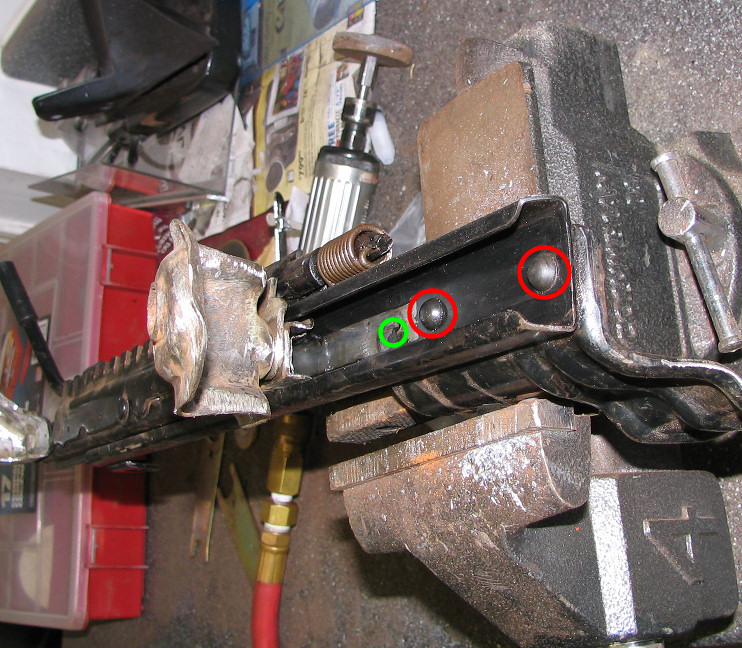
I didn't realize before I started priming that I could also
remove this other set of teeth. The red circles mark the welds
to be drilled out. Make sure you are removing the teeth from
the rail WITHOUT the handle.
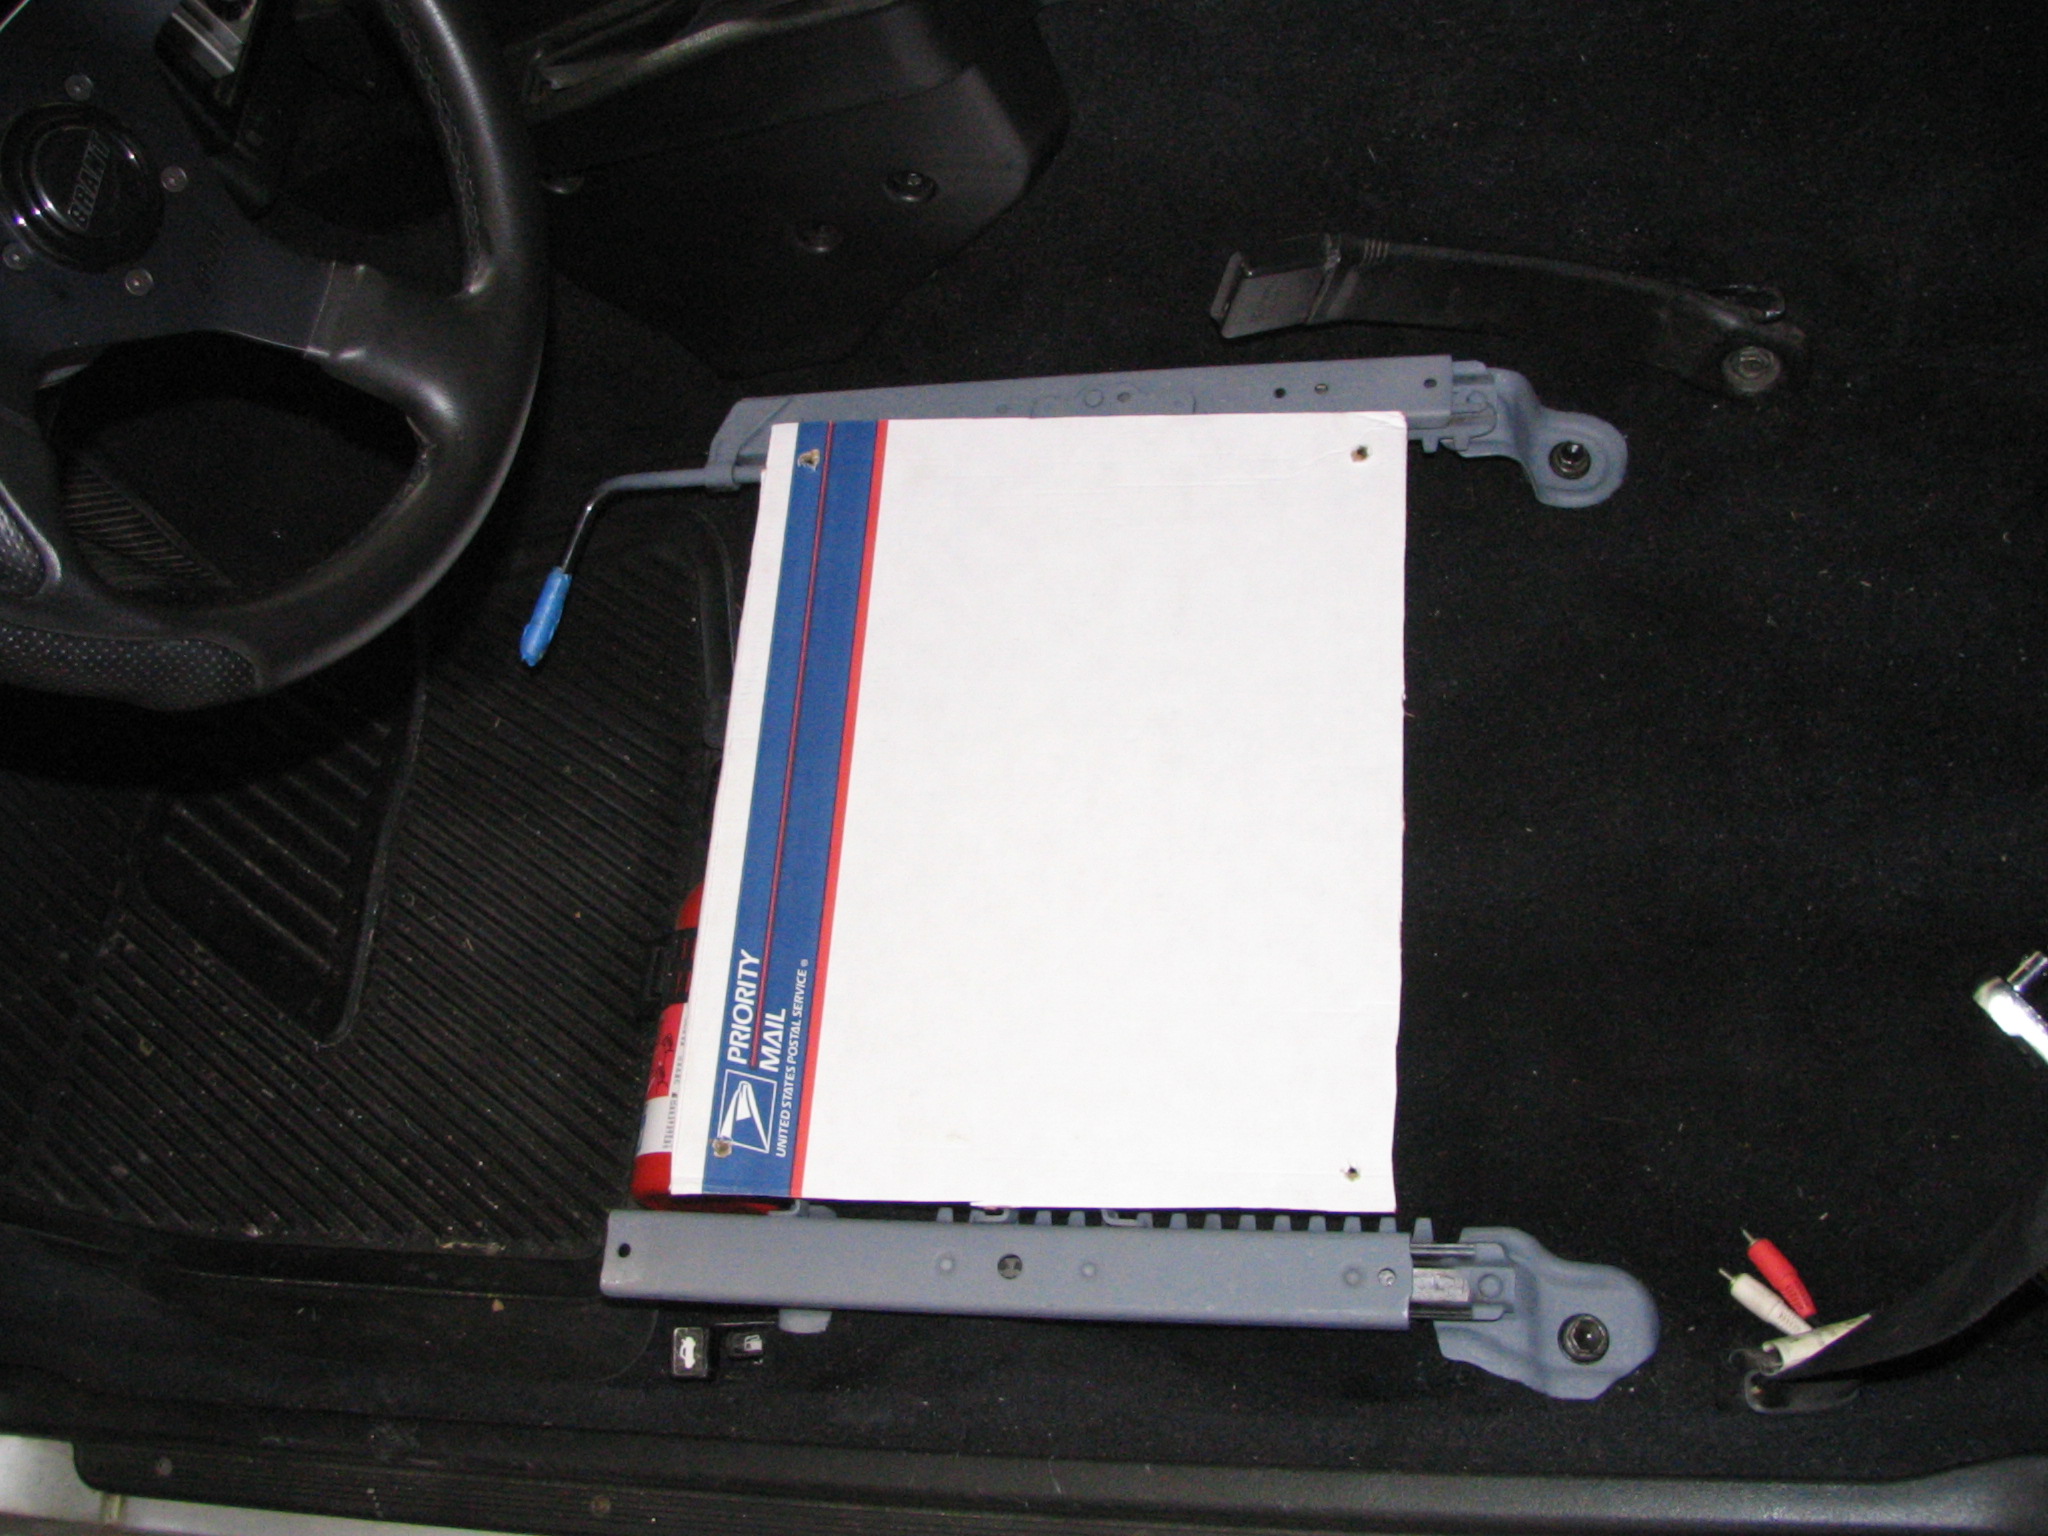
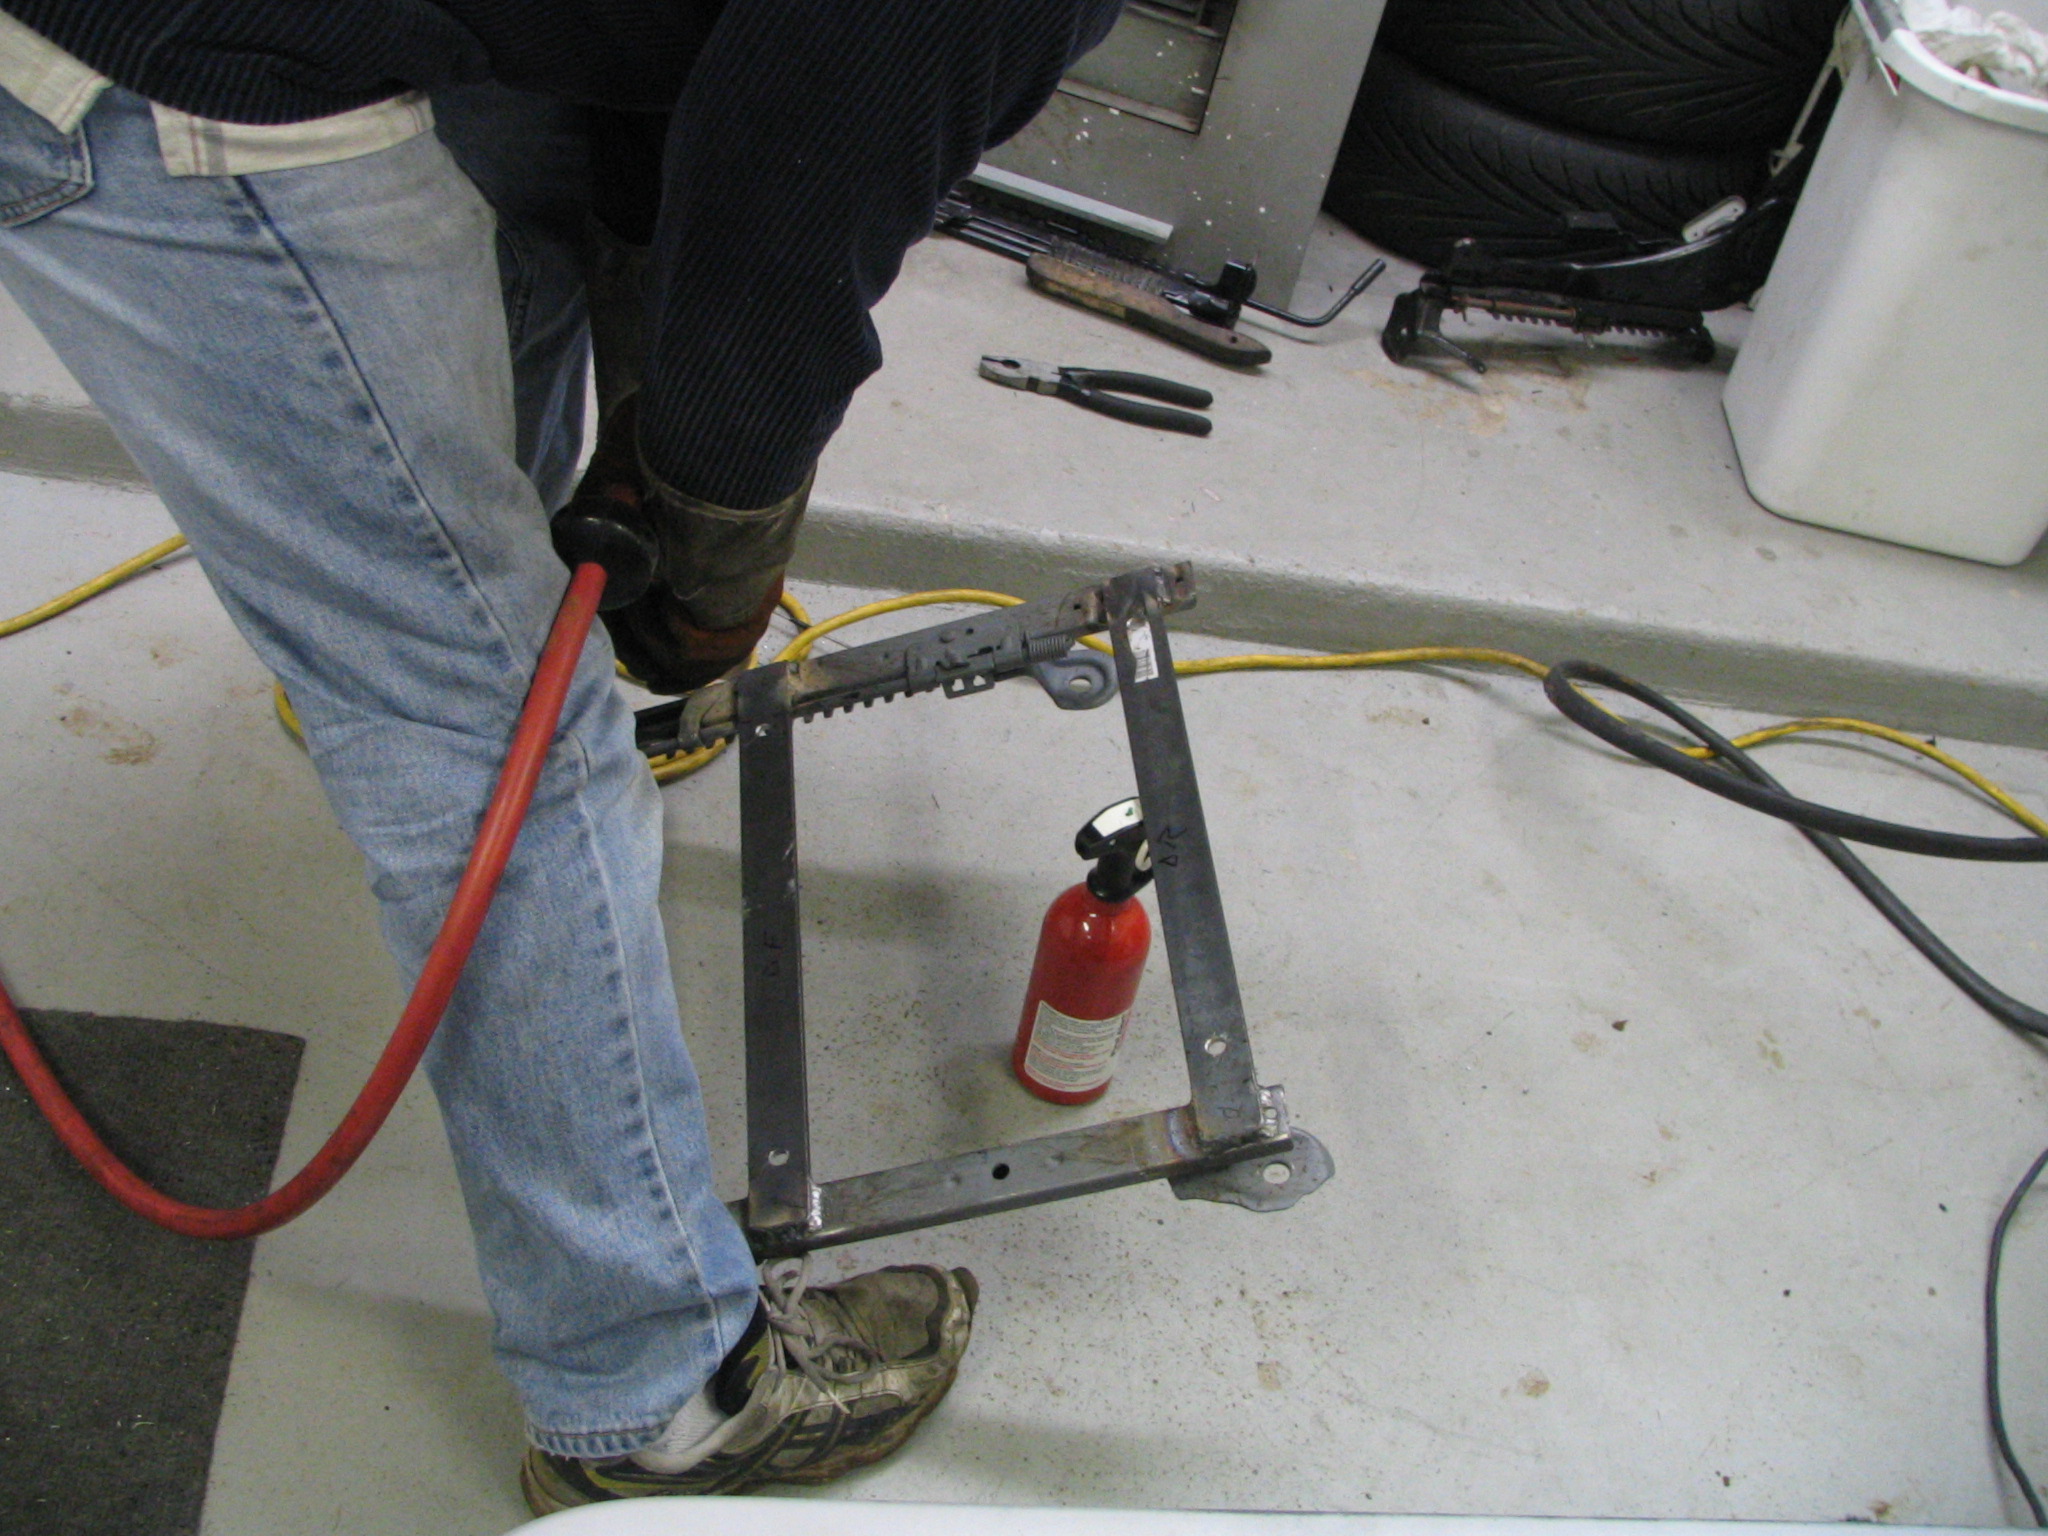
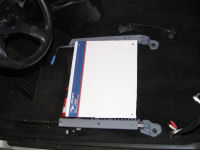
4) Once stripping all the now useless bits test fit the rails
into the car.

5) Measure the lengths needed for the flat bar to go across
the rails. I used 3/8" steel that I purchased at Home
Depot. You can now cut the lengths of the bar. Cutting a bit
long wouldn't hurt.
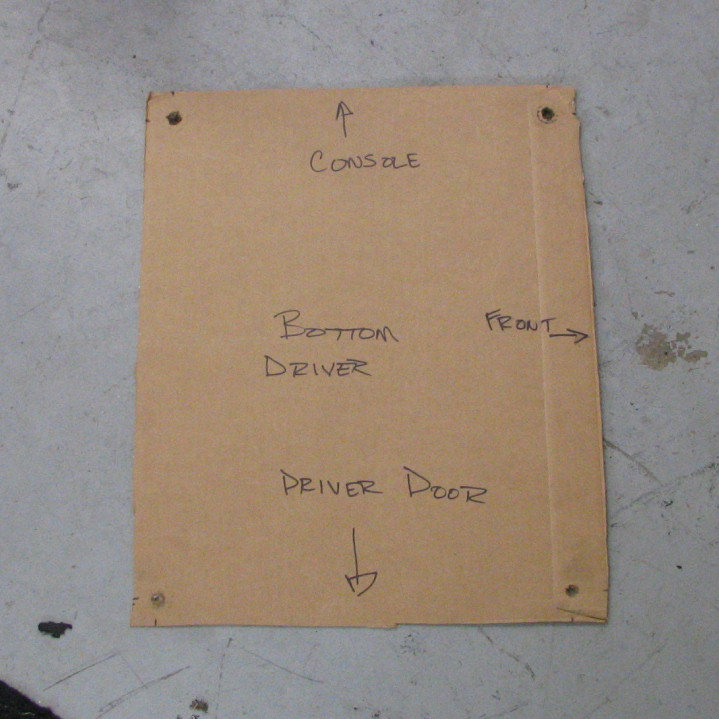
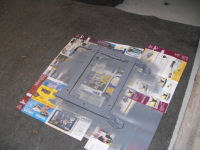
6) Make a template for the bolt locations on the new seat.
Here's pic of template I used. Use this template to figure
out where to drill holes in the flat bar. Since the MR2's
steering wheel is shifted about one or two inches toward the
center console, I tried to push the seat as far toward the
console as possible. This took some test fitting of the seat
in the vehicle.

7) Drill the holes in the bar and temporarily mount to the
seat.
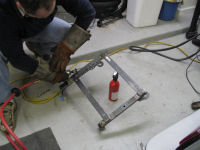
8) Now, fit the seat into the car to mark wear the bar should
be welded to the rails. This is a bit cumbersome since there's
not much room (much less light) under there to work.
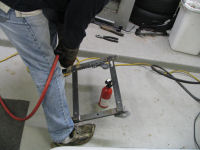
9) Tack weld the bars to the rails and do another test fit.
Making sure the seat slides smoothly front to back. And to
make sure its not crooked. Make any adjustments to the bar
locations as needed. Then get to welding the bars permanently
to the rails.
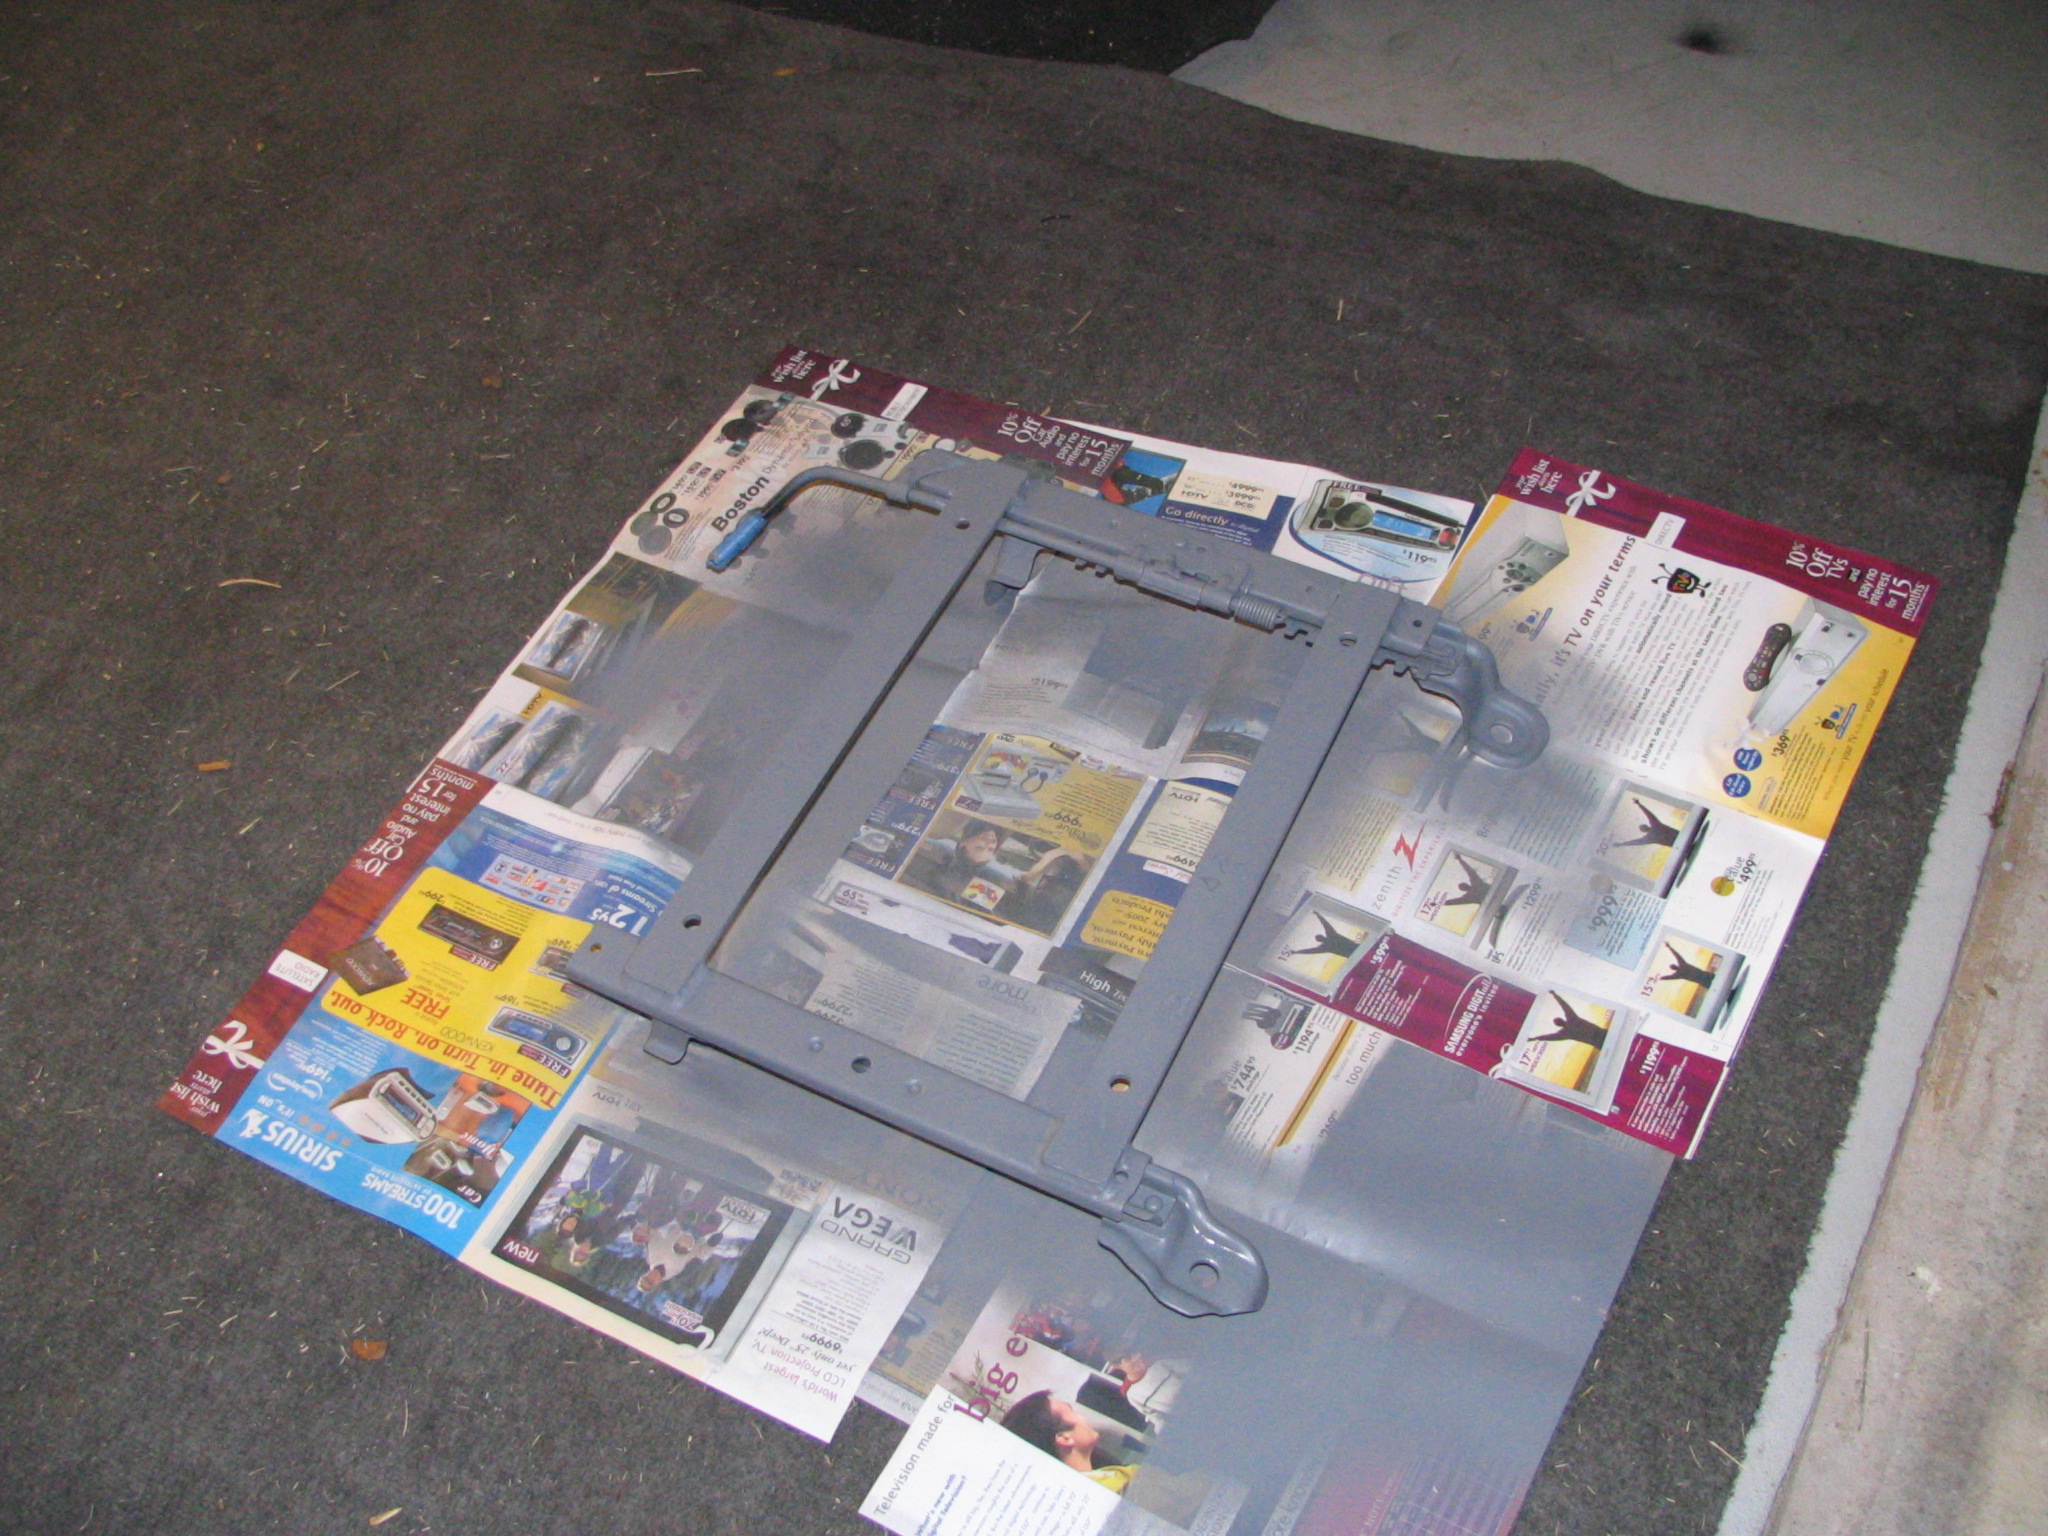
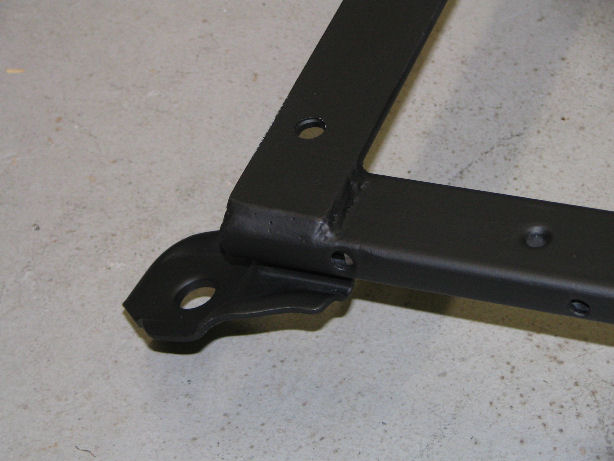
10) Grind the welds pretty and primer everything.
Painted black.

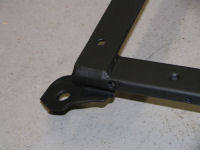
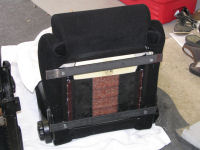
11) Fitted to the seat (pic is prior to paint of course).
Use some threadlocker on the bolts into the seat. These are
a pain to get to when the seat is installed in the car, so
you don't want these coming loose.

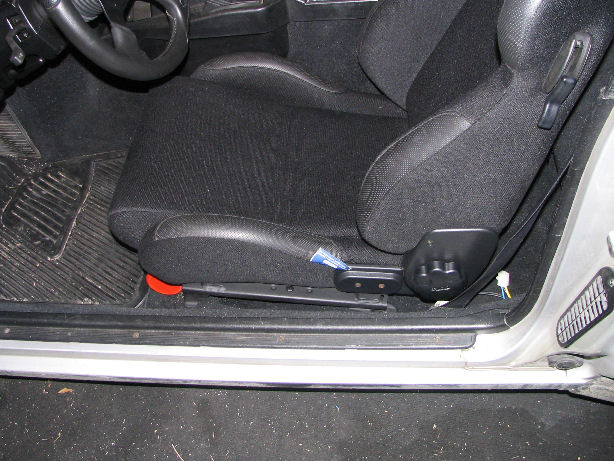
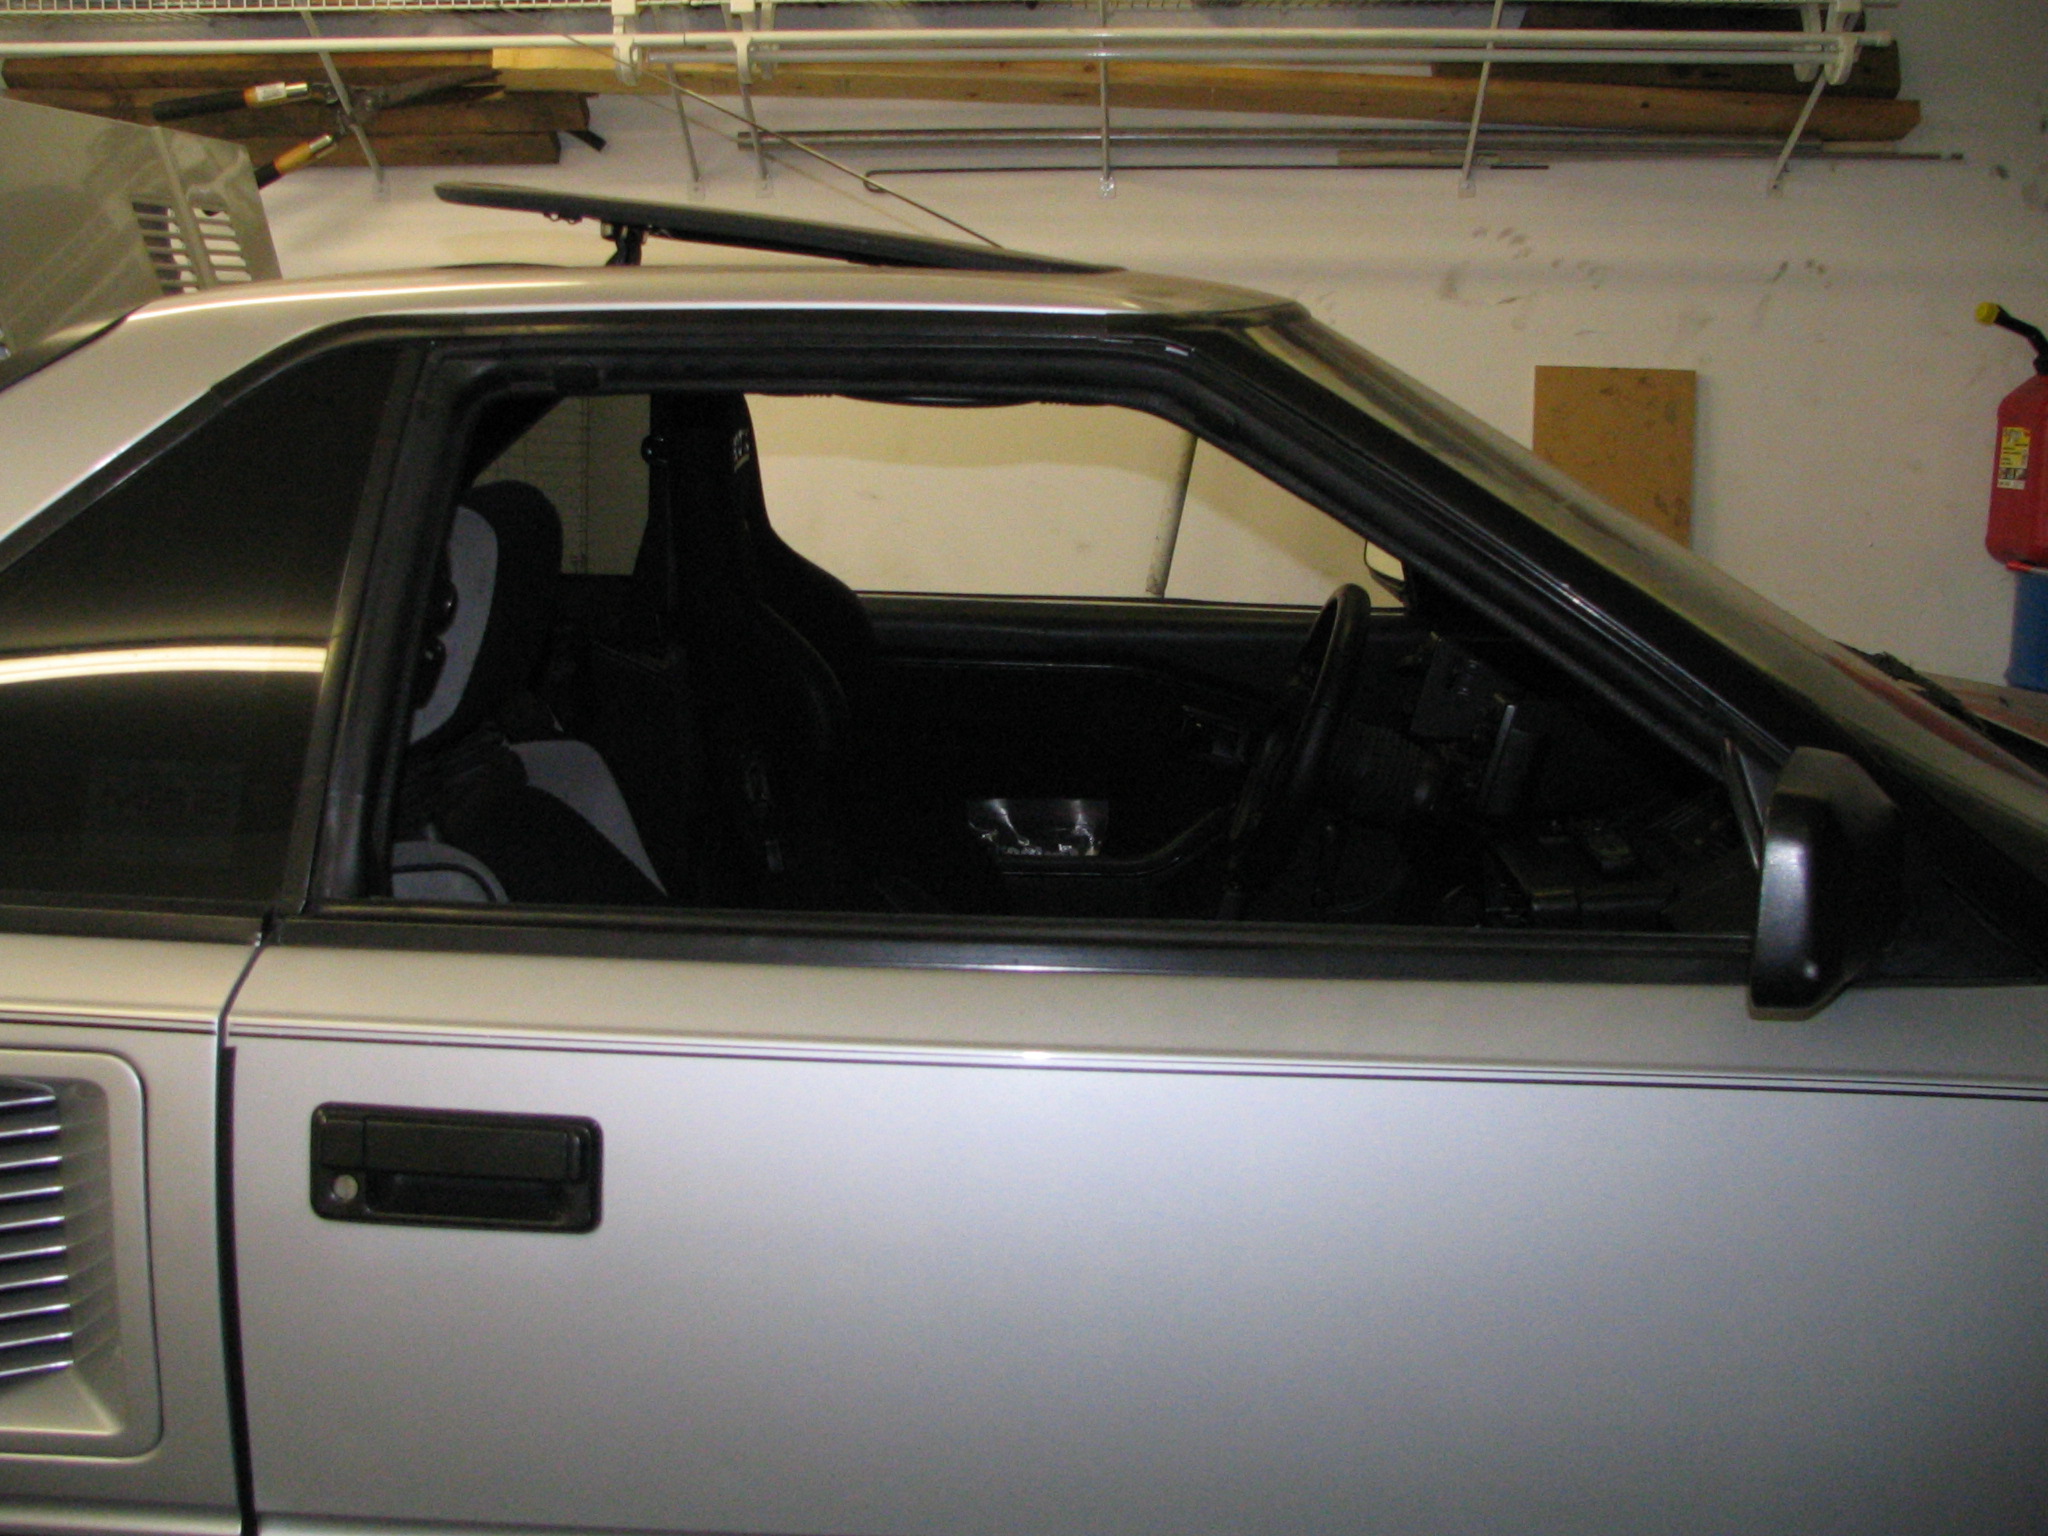
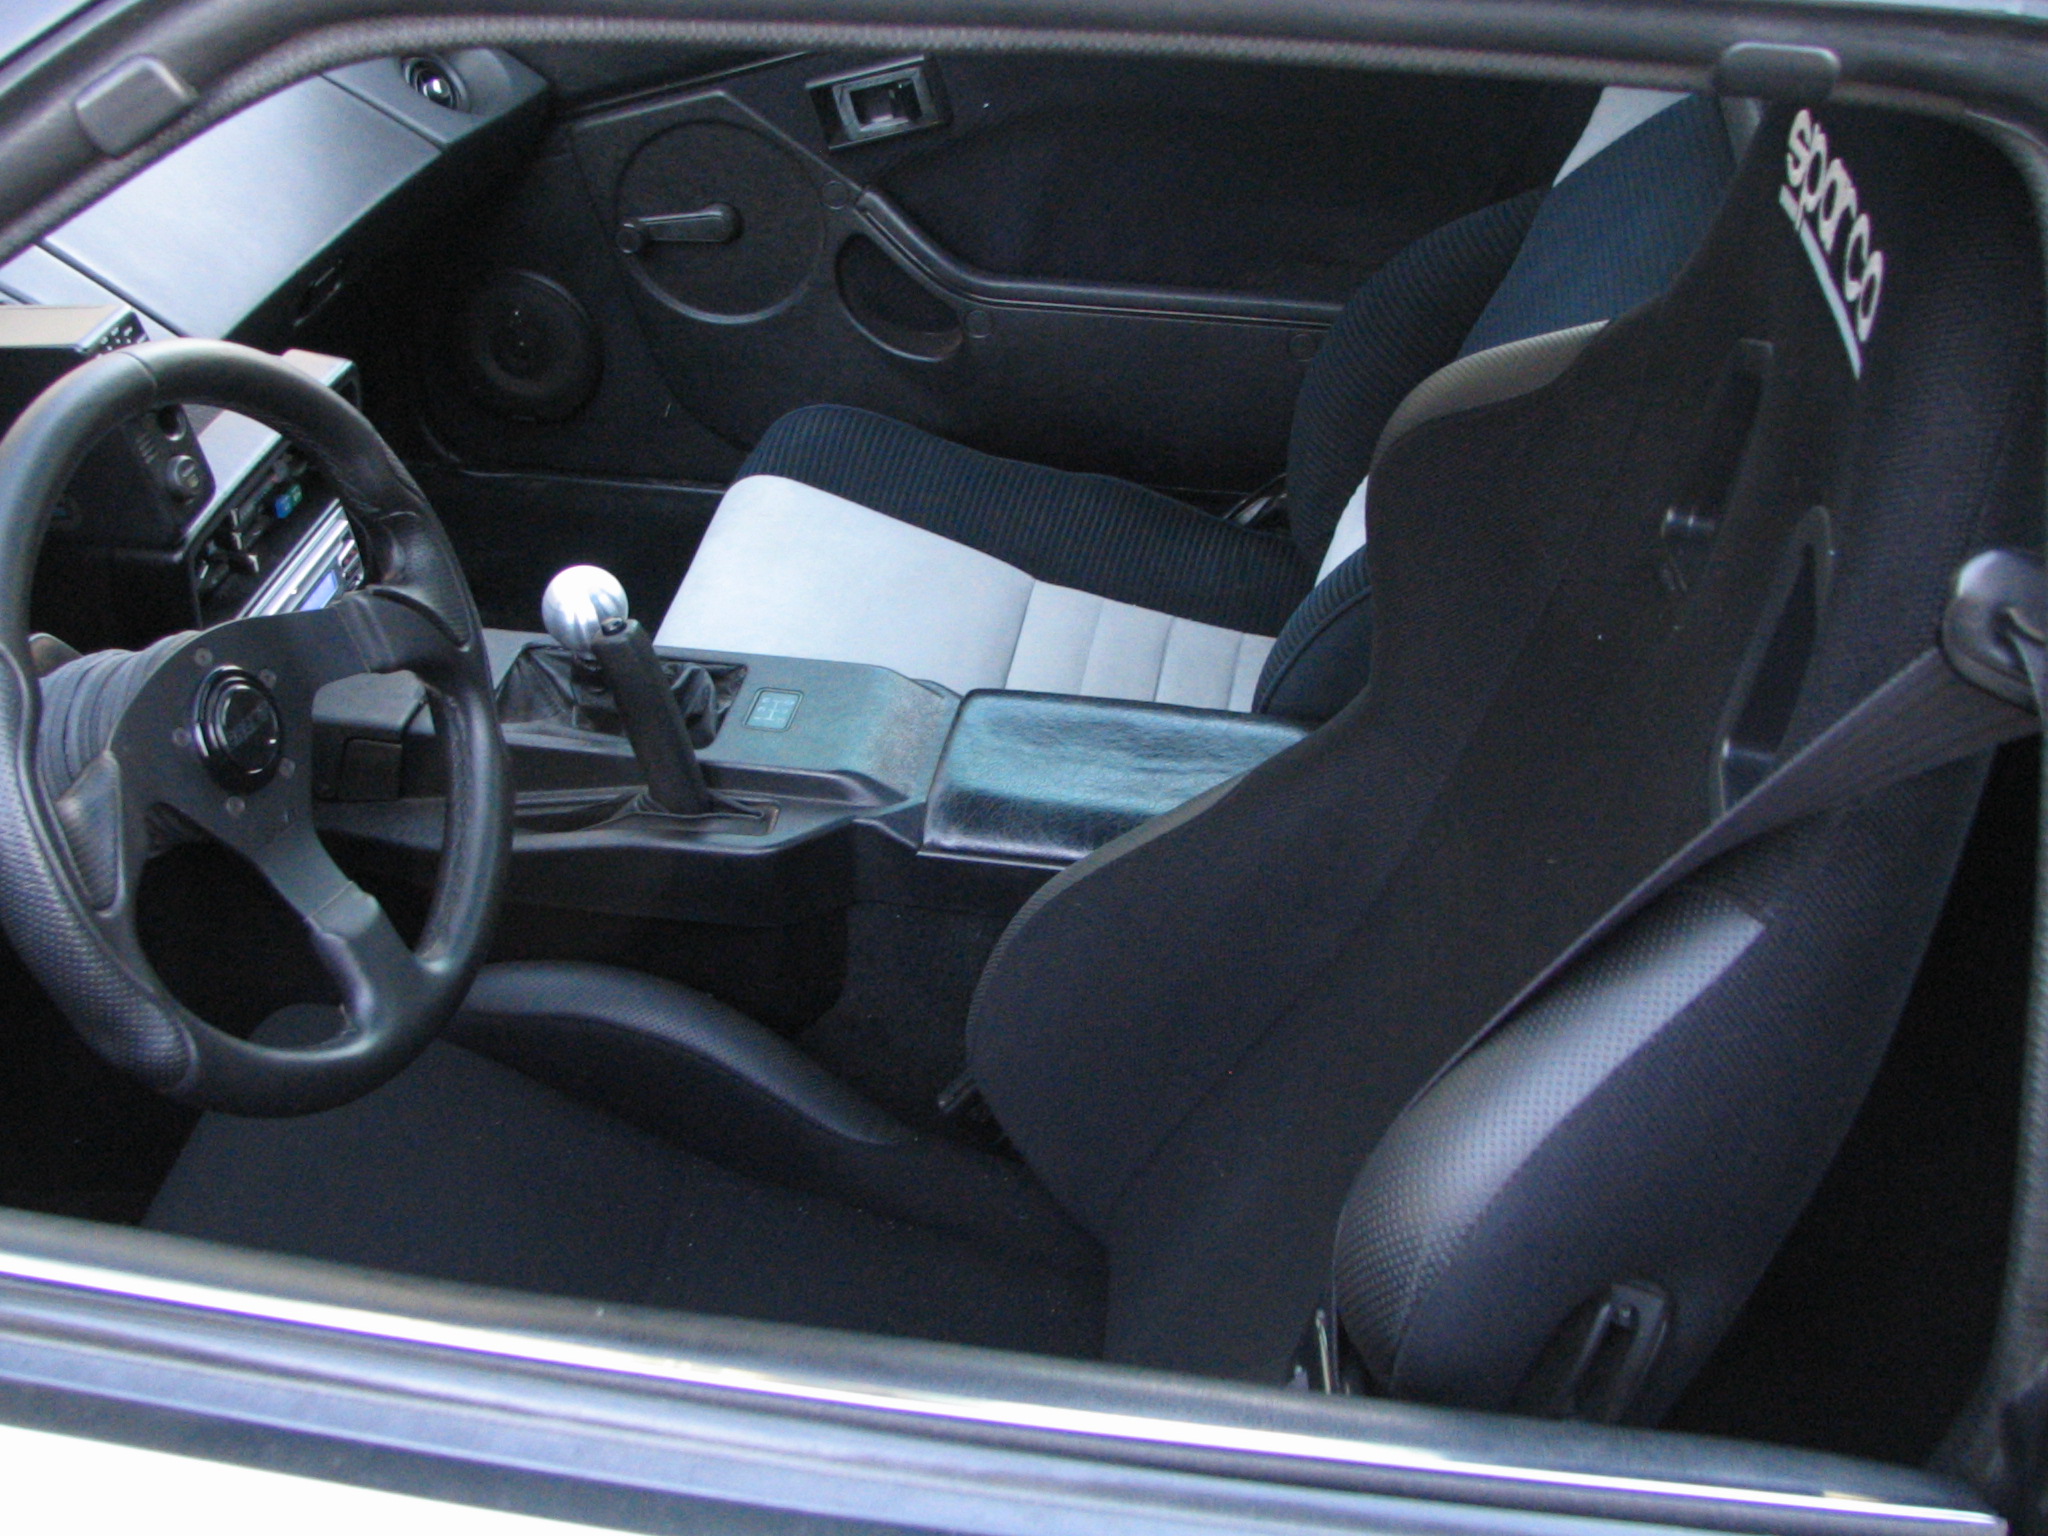
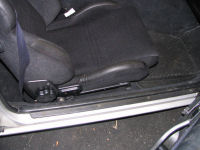
12) Installed and repeat for the other seat.


|